I’m back again with more craft ideas, but Spring edition this time. If you’ve been around a while, you know that I am not a fan of spring. Now that I live in the south, spring starts in like February and lasts til the beginning of April, when it starts to feel like summer, but technically for everyone else, it’s springtime right now. So, here are some fun crafts to do with your kiddos!
As per usual, I borrowed pictures from the internet so you know what you’re making!
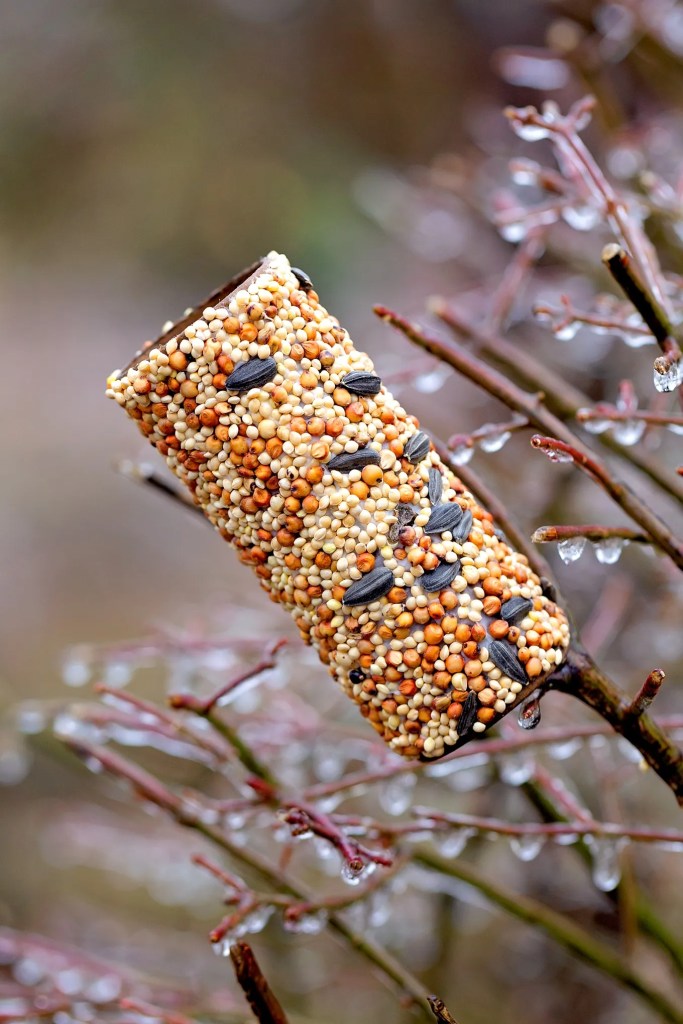
- Toilet Paper Roll Bird Feeder:
What You’ll Need: Toilet Paper Tube || Veggie shortening (think Crisco) || a Butter Knife || Bird seed || Paper Plate || Twine or string || hole punch
Directions: Pour bird seed onto a paper plate and set aside. Have the kids spread the shortening all over the tube (this will help the bird seed stick). Once spread, have them roll the tube in the bird seed on the plate. Take the whole punch and make a hole in the top of the roll and tie the string through it. Then hang it outside and watch the birds come and eat!
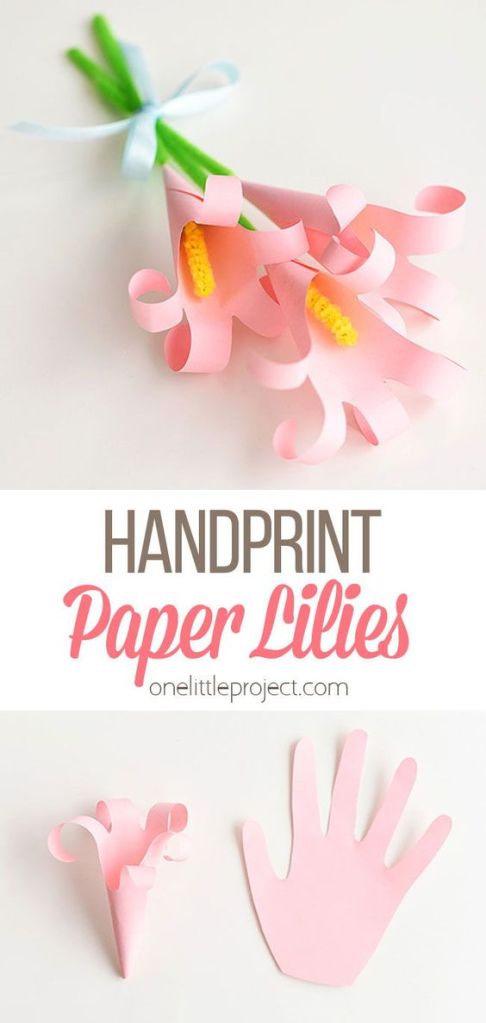
- Handprint Paper Lilies: I love any craft that includes handprints! I’ve made so many crafts like this one!
What You’ll Need: 6″ Green and Yellow pipe cleaners || Pastel colored card stock paper (pinks and purples are great for this) || Pencil || Tape || Scissors
Directions: Trace your little ones hand onto the paper. You can trace has many times as you want depending on how many paper flowers you want. You or the kids can cut out the handprints. Try to erase any pencil marks from the paper after it’s been cut. Curl the paper at the bottom of the hand print, leaving just enough room to fit a pipe cleaner through. Then tape the bottom together. Next, using the pencil, roll the fingers backward so that they curl around the pencil. They will look more like petals that way (see picture below). Bend the yellow pipe cleaner in half. Pinch the end of the green pipe cleaner in the middle of the yellow one. Then twist the yellow around itself (like you would with a twist tie). Finally push the “stem” through the bottom of the flower so that the yellow shows through the flower and you are done! Make as many as you would like!
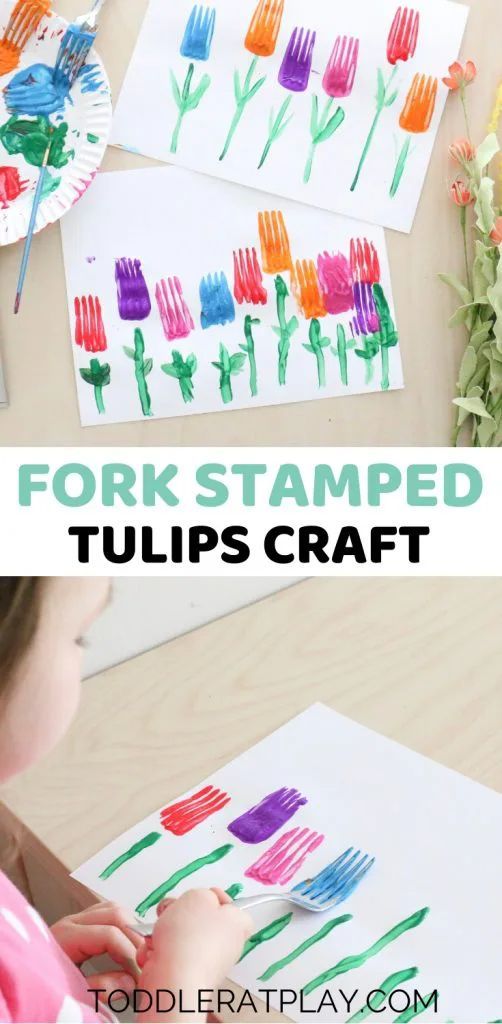
- Fork Stamped Tulips: this is for you parents who have no crafting ability, but really want to try something.
What You’ll Need: Paper || Pastel Paint Colors || Paper plates || Plastic forks || Paint Brushes (seriously that’s it)
Directions: Have the kids starts by painting a bunch of grass and green stems on their paper. That way they know how many flowers they are going to make. Have them space the stems about 1.5 inches apart. Once that’s done, have them dip the forks in paint (not too much paint though) and stamp it over the top of the stem to make the flower. They can do this over and over until they are content with their painting. It’s a simple and easy project to hang on the fridge.
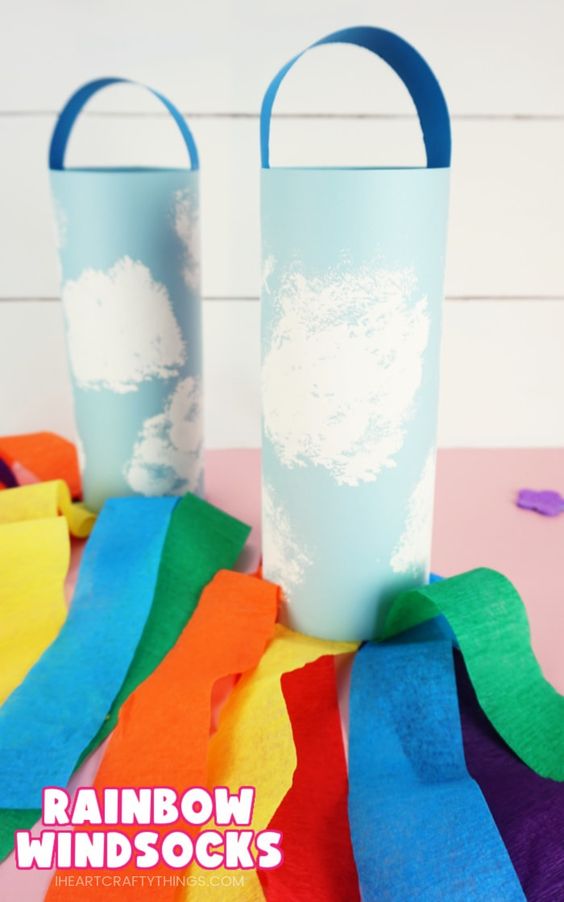
- Rainbow Windsock: I loved making these as a kid. This is an inexpensive and really fun activity.
What You’ll Need: Light blue card stock paper || White paint || Sponges (you’ll cut these to use for painting) || Thick string || Rainbow colored paper streamers (red, orange, yellow, green, blue, purple) || Glue stick || Stapler
Directions: Cut the sponges into cloud like shapes (so that they become little stamps) and let the kids dip them in the white paint and make clouds on one side of the blue card stock. Cut the streamers into 12 inch strands that they will use to hang. Have them spread glue from the bottom of the page, up about an inch all the way across (the long way) of the page). Carefully line up the streamers making sure they don’t overlap. Once those are dry, roll the card stock until the ends meet and the two end streamers are touching (like the picture below) and staple (or glue) the card stock together to hold the shape. Finally, staple the string on the top so that the kids can hang their final product!
Nature Filled Sun Catcher: This is a cute way to shake off the winter blues and get the kids outside!
What You’ll Need: Popsicle sticks (colored or plain) || Press and Seal (clear) || Hot glue gun (and glue) || Twine (or string) || Scissors || Nature things (flower petals, twigs, leaves etc).
Directions: Make 2 square frames using the popsicle sticks. Then cut two sheets of press and seal to fit each frame (make sure there is no overhang). Then let the kids go on a hunt for small things to put inside their sun catchers. Once they find everything. Lay it on one side of the press and seal. Once they have everything inside that they want, place the other sheet of press and seal over the top and seal it together. Glue it to one of the popsicle stick squares. Before you glue the final popsicle square down, cut some of the twine to hang the catcher with and place that down on the top edge before finally gluing down the final square. Wait a moment for it to dry and then they can admire their handiwork. If you chose to use the plain popsicle sticks, the kids can also color them or decorate them!

I don’t know if you realize this, but so many of the “suggested” spring projects are all flowers. I had a hard time compiling even a small list that including things other than flowers on flowers on flowers, BUT, in doing this, I found some really cute projects to work on with my toddler and I hope that you have found some here too!
My ideas are usually never original, but my goal is to have a space on the internet that is a little less overwhelming with a LOT less information because if I’m being honest, sometimes, when I click a link, I’m not looking for a persons life story before they share their project or recipe.
See you next time for a totally different, but really important topic!

Leave a comment