It’s me, your aspiring Pinterest mom. I spend the 4-5 months before my daughter’s birthday party trying to figure out how to bring my ideas to life. This year was a LOT harder than her first birthday theme. I quickly learned that when you type “Two Sweet” into Pinterest, you get a million ideas for a donut party. However, my theme choice was a cupcake party. Aparently not a lot of people choose this theme (or they just haven’t shared it).
So here I am again, sharing with you what you never asked for. This years party was even smaller (guest wise) than last years, so keep that in mind when reading through my lists. Mostly everything was done DIY, but you can get decorations customized on Etsy if you are not a DIY person!
What: Girls Second Birthday Party (easily gender neutral with color changes)
When: Anytime of the year (this theme is not tied to a season)
Where: Your home, small banquet hall, Under a tent outside
Theme: Two Sweet (cupcake edition)
Theme Colors: Pastel pink, blue, purple, green, yellow and orange (you can add or eliminate colors that you don’t want to use)
Guest Count: 10
Food: I kept it super simple this year because we didn’t have many people coming and our party was hosted between lunch and dinner so we didn’t need anything big for food. Pinterest was zero help with this theme so I had to get creative.
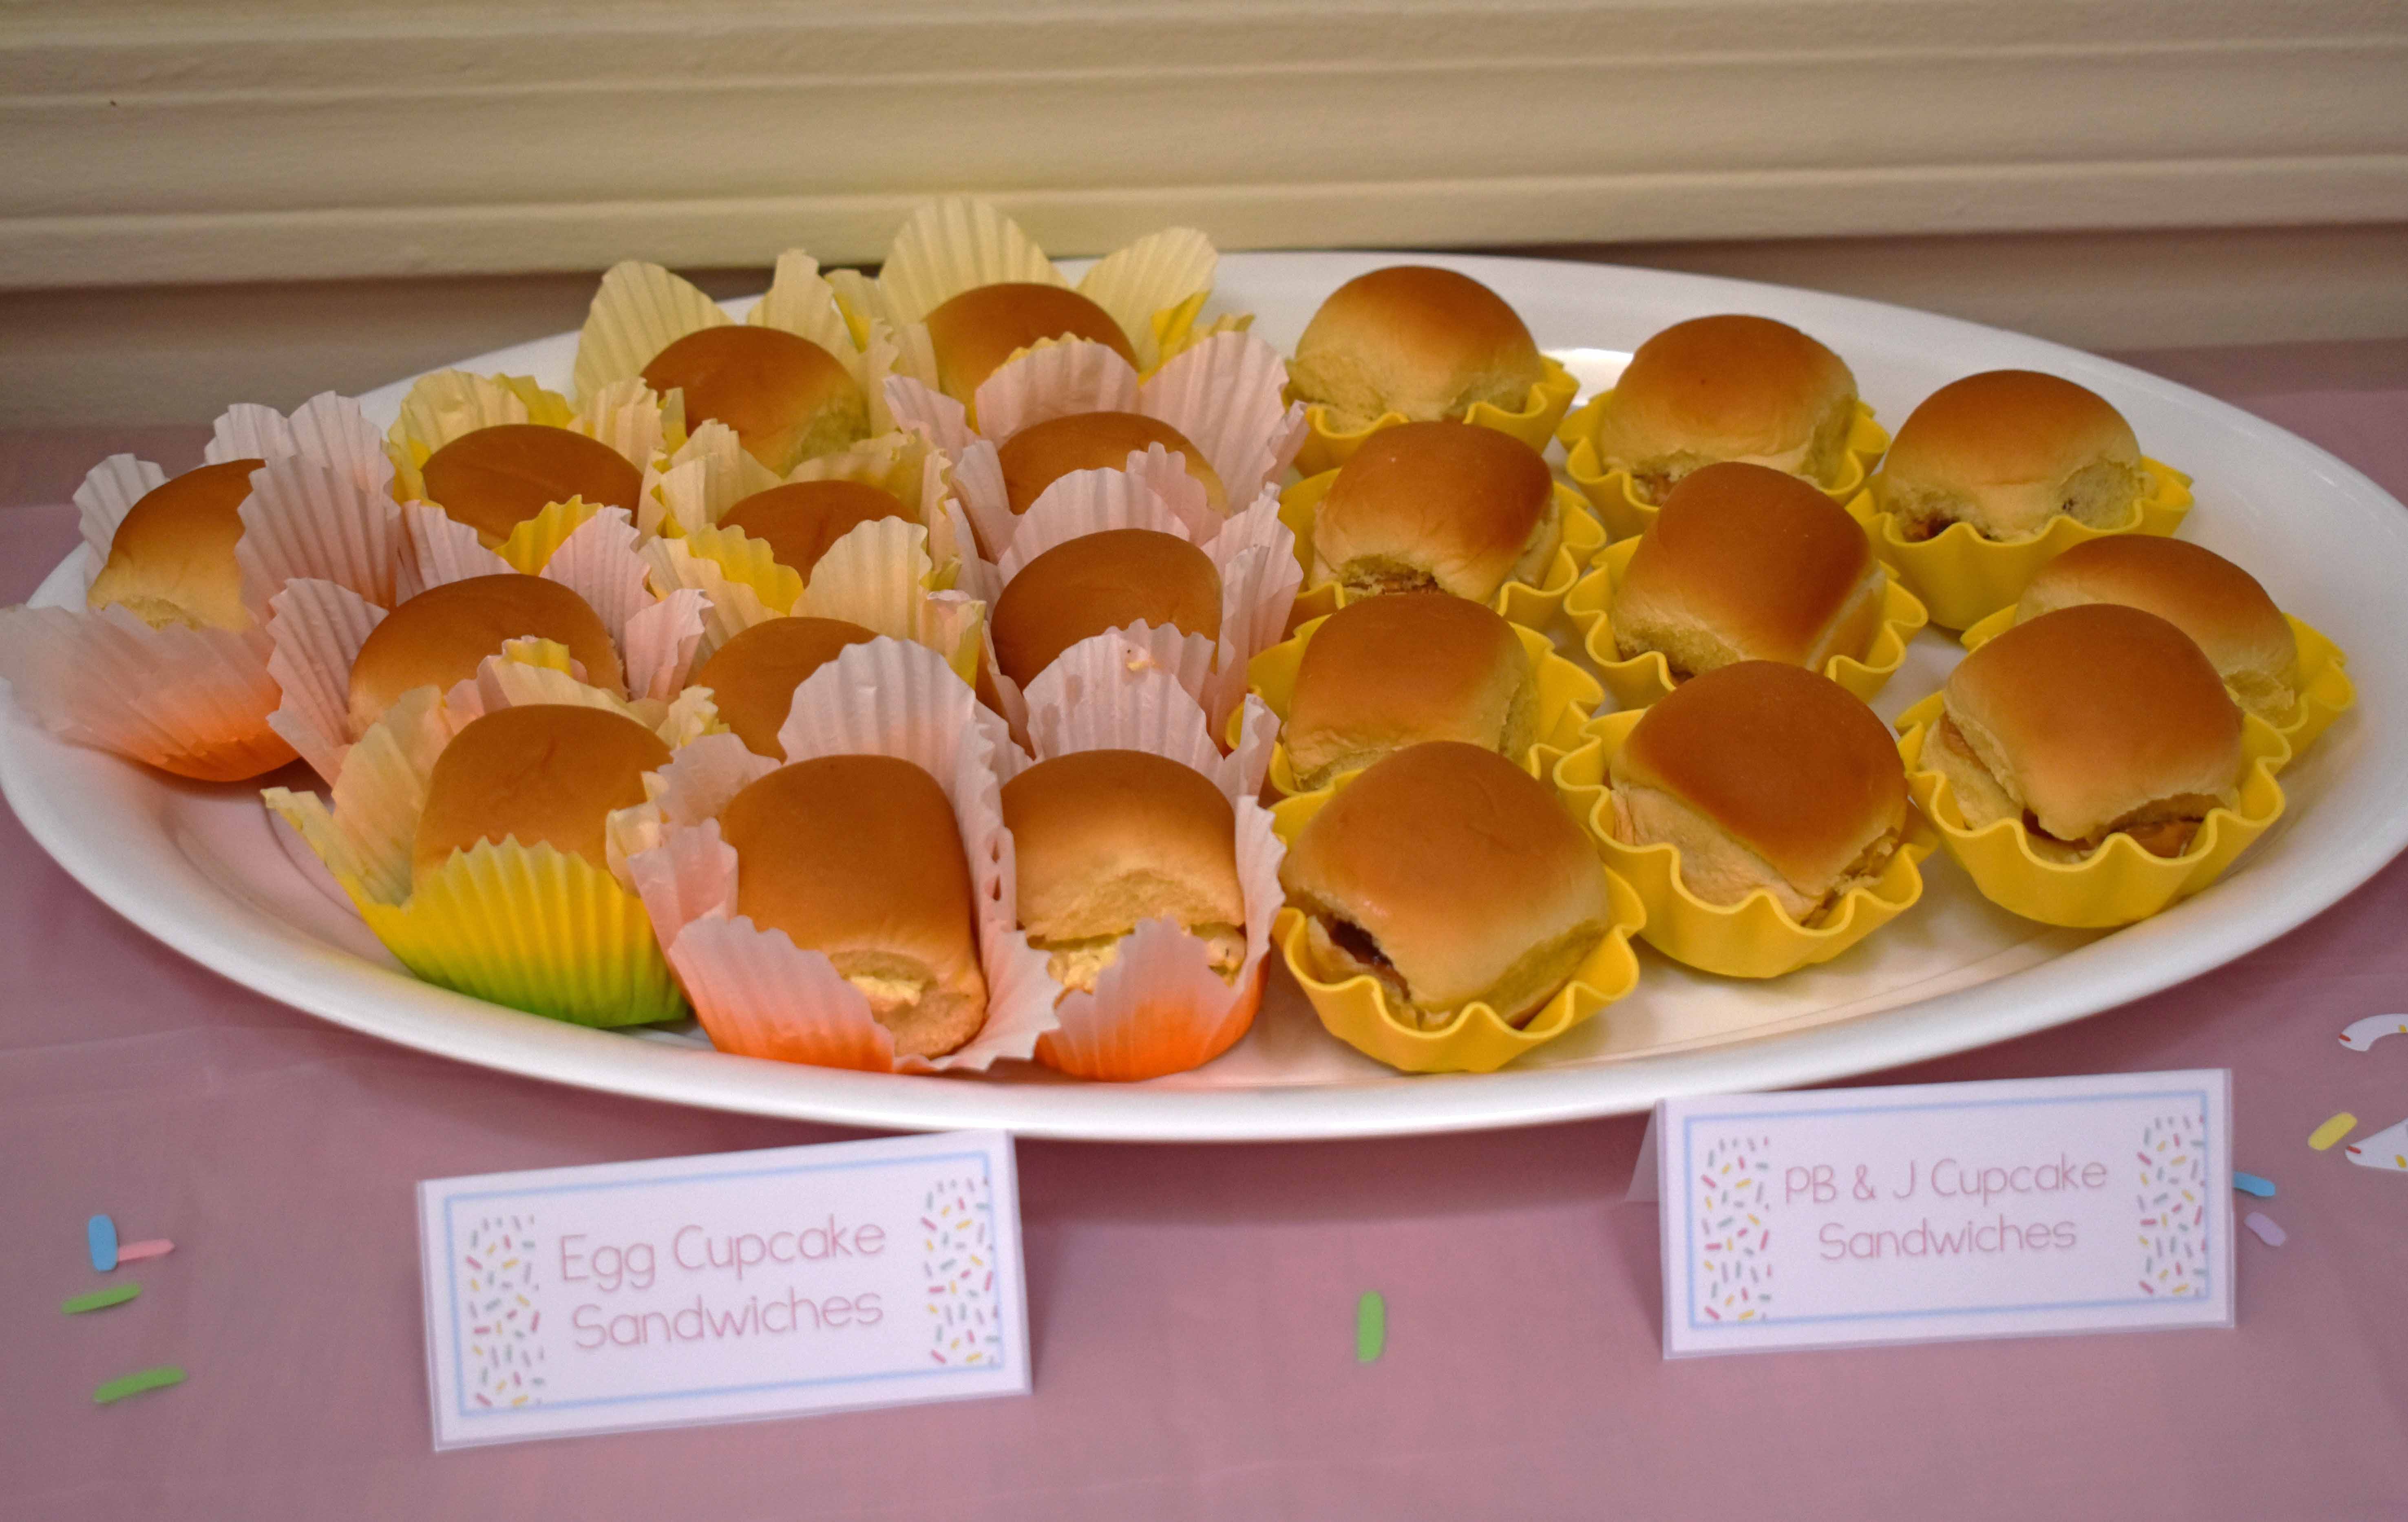
- Cupcake Sandwiches: My mom made little finger sandwiches and placed them in cupcake papers. It was a great way to display them. You could really make any kind of sandwich and put it in the cupcake papers.
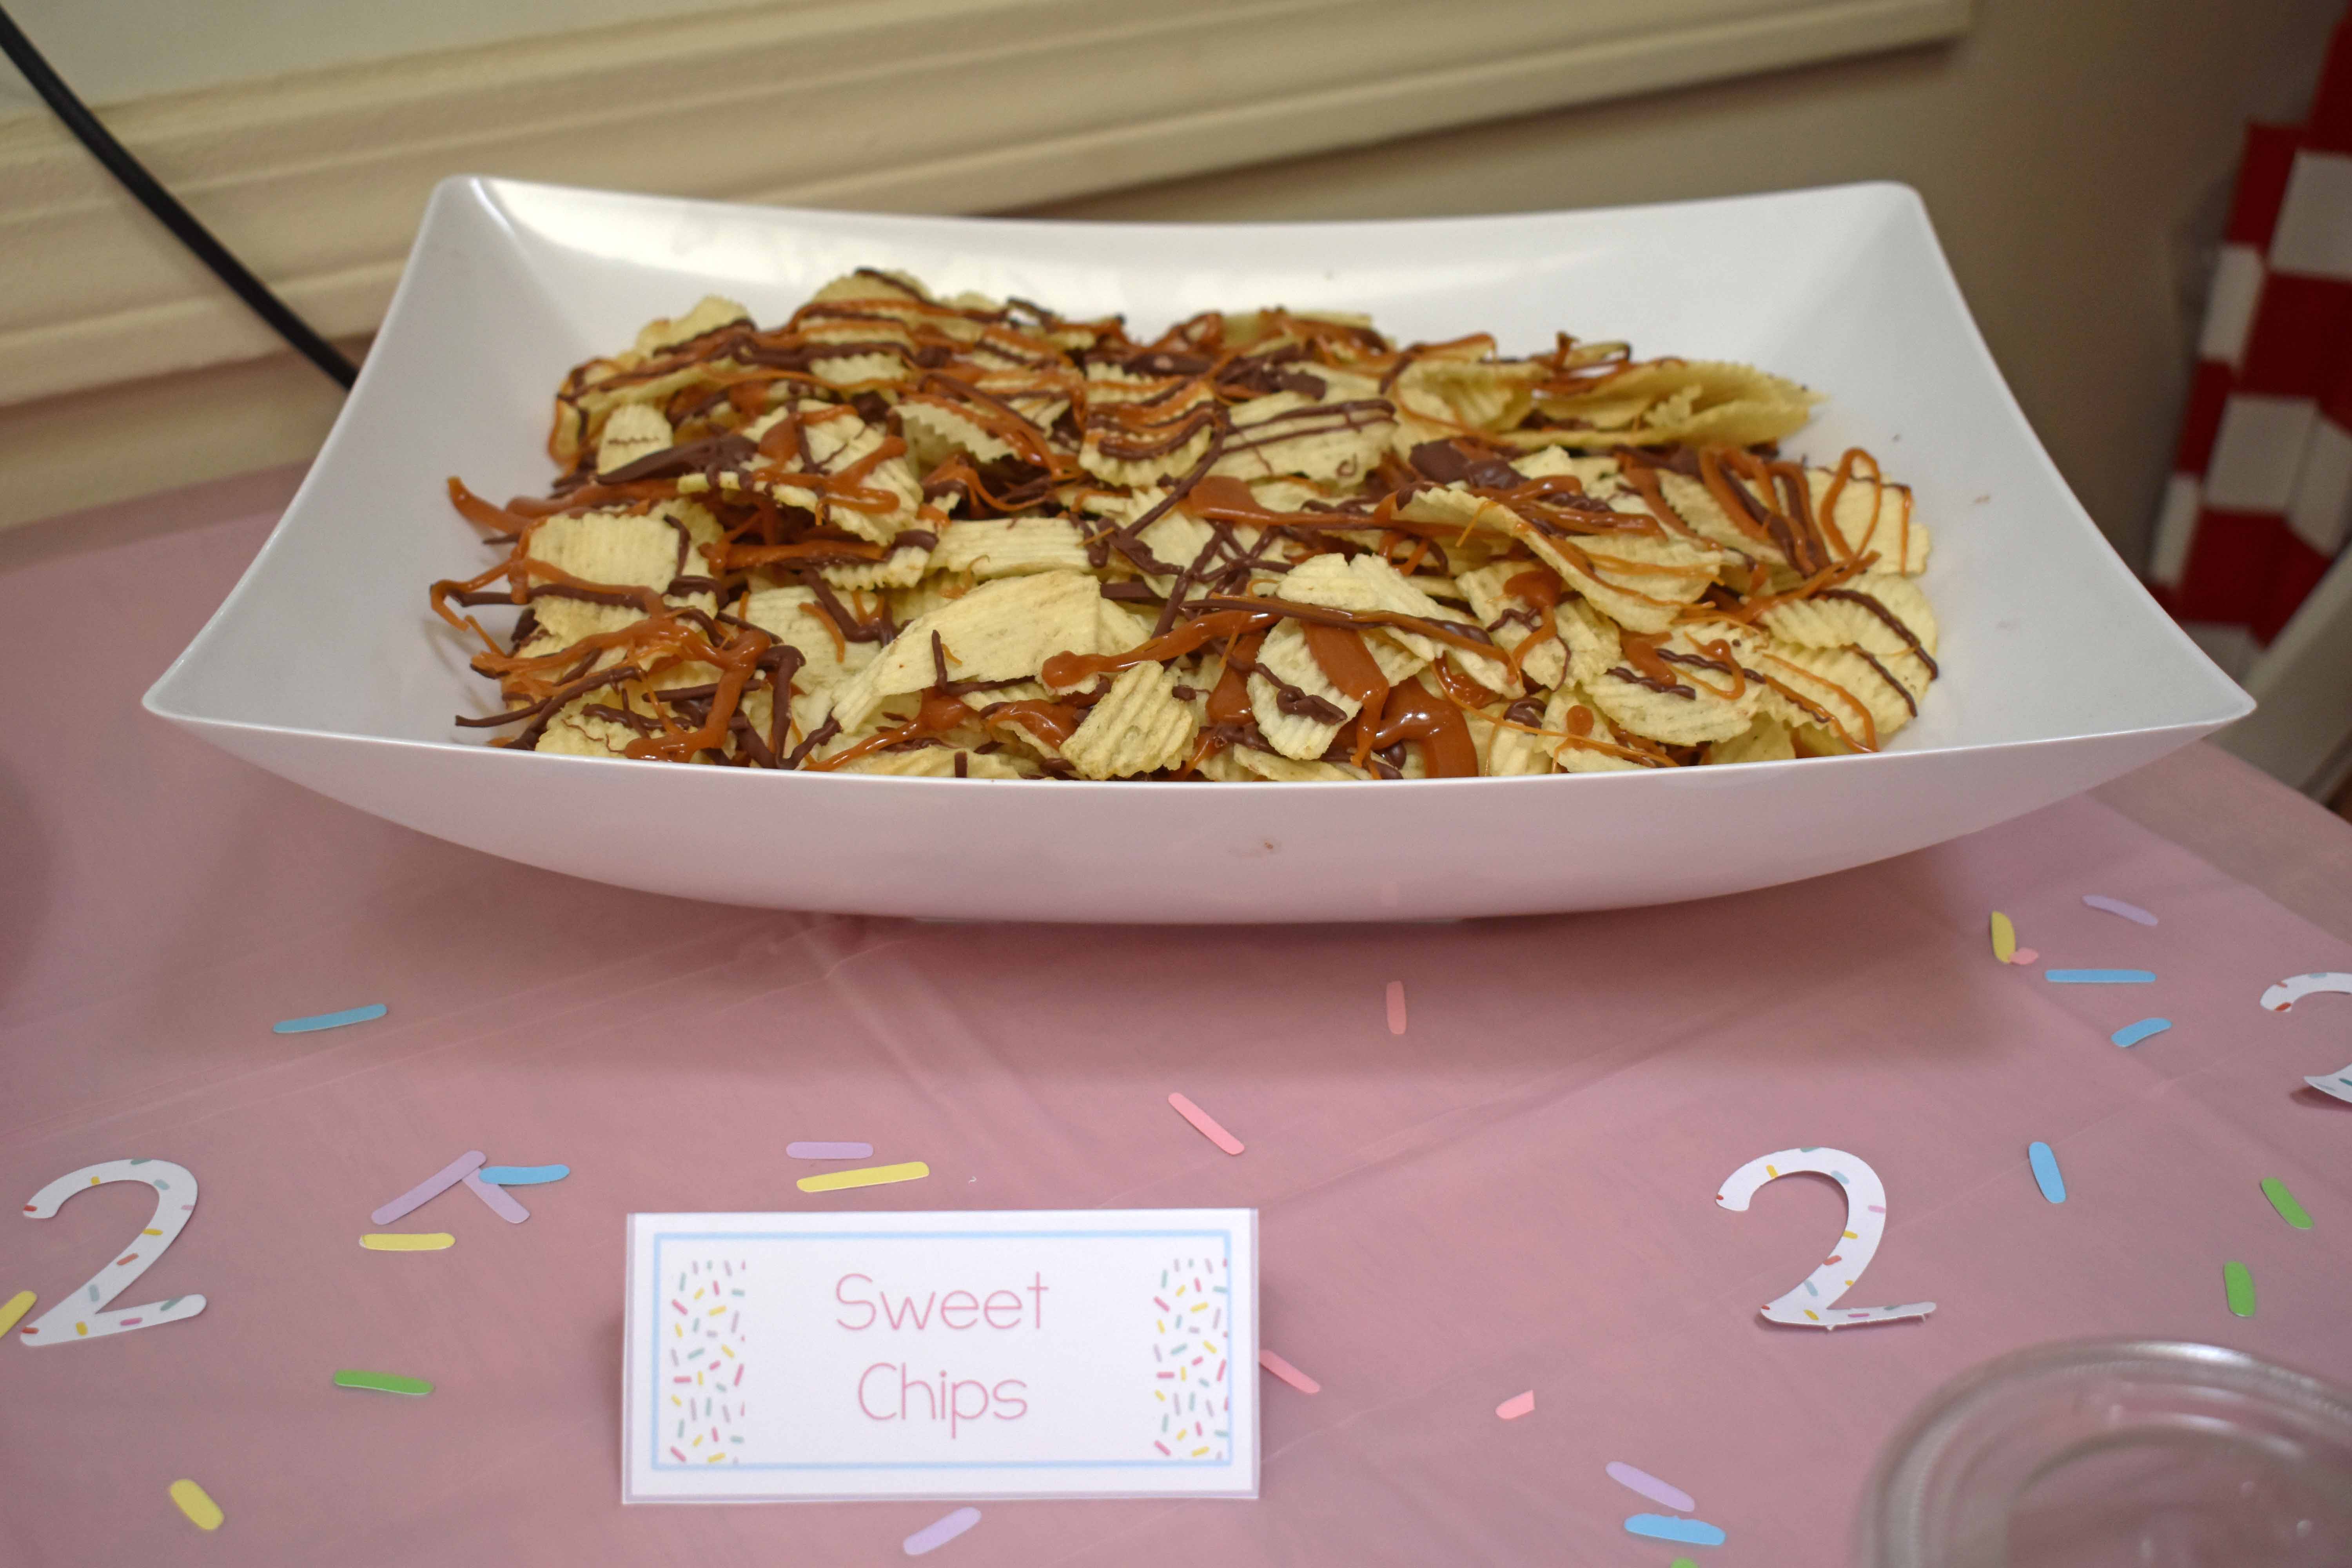
- Sweet Chips: Lay out Ruffle chips and drizzle Ghirardelli milk chocolate over them, followed by Carmel. Trust me, you won’t be disappointed.
- Cherry on Top: Literally just maraschino cherries dipped in chocolate, just make sure to rinse and dry the outside of the cherries before you dip them. OH AND make sure you get the ones with stems. Did you know they sold stemless ones? I didn’t until this party.
- Anti-Cupcakes: We needed something that wasn’t full of sugar so I made individual veggie cups. They are the opposite of cupcakes, thus the name.
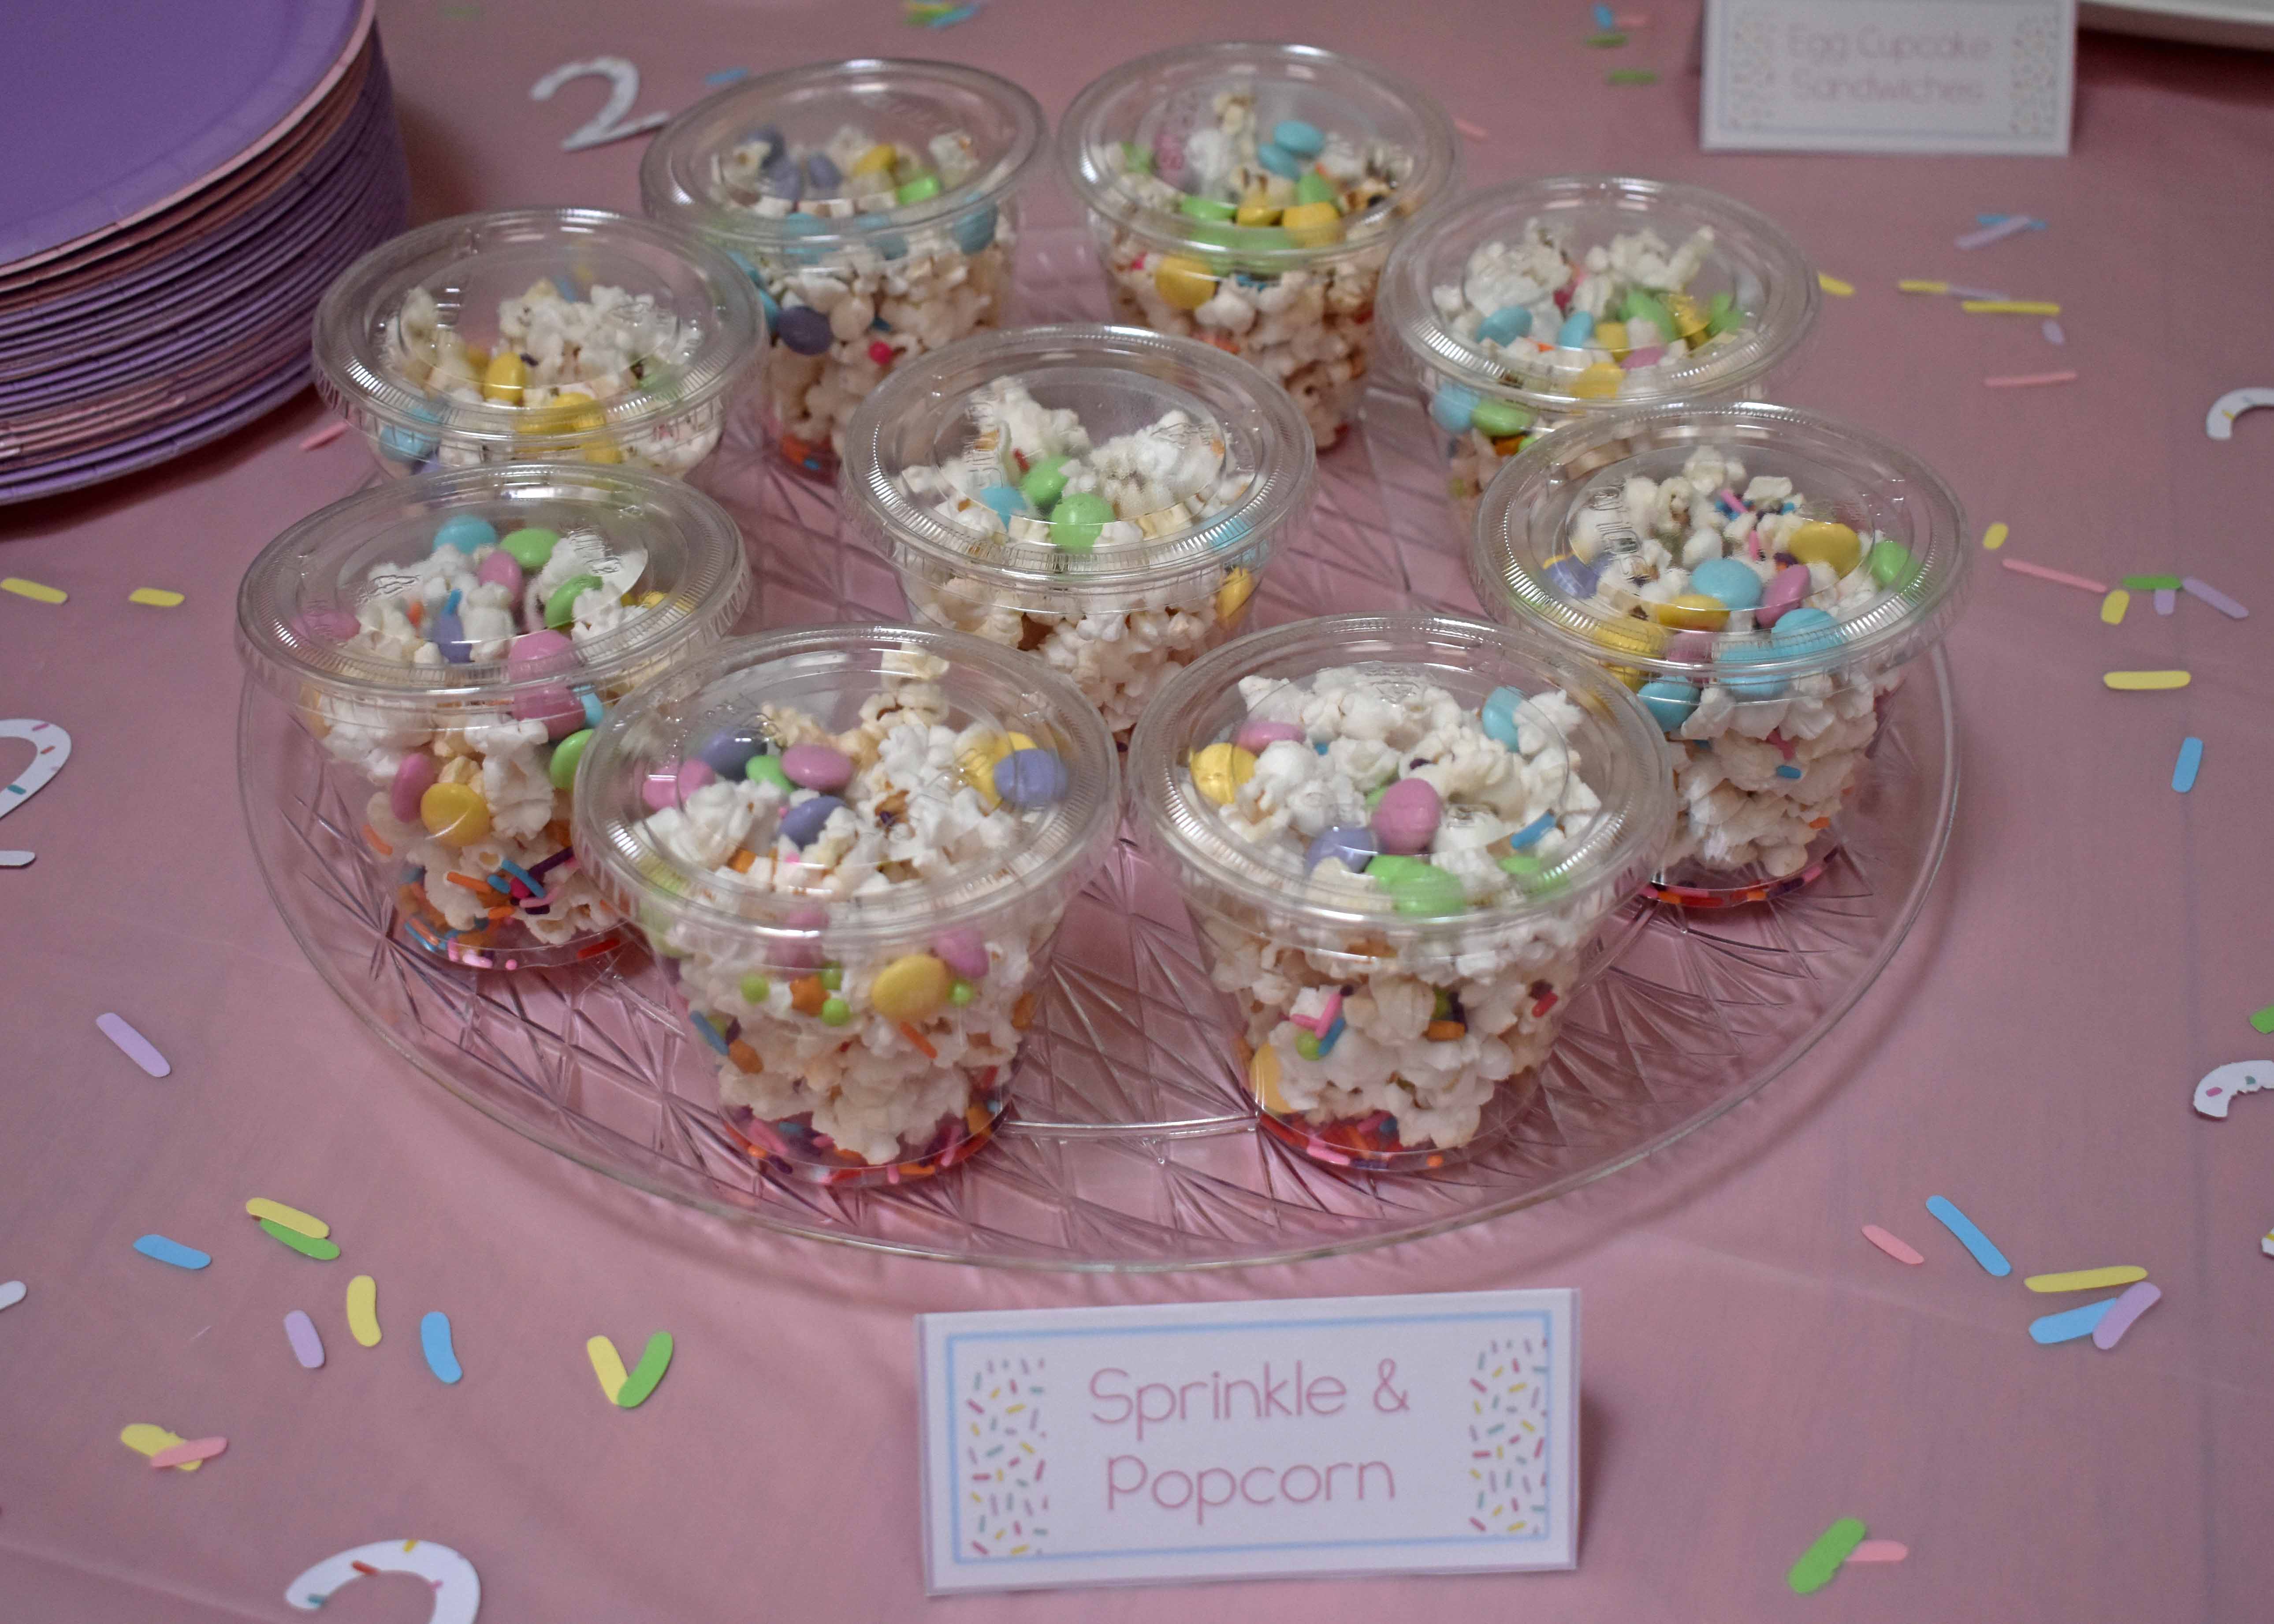
- Sprinkle Popcorn: This idea came from a Pinterest unicorn party, but I used it for this party. You just make popcorn and add sprinkles and M&M’s (in the party colors).
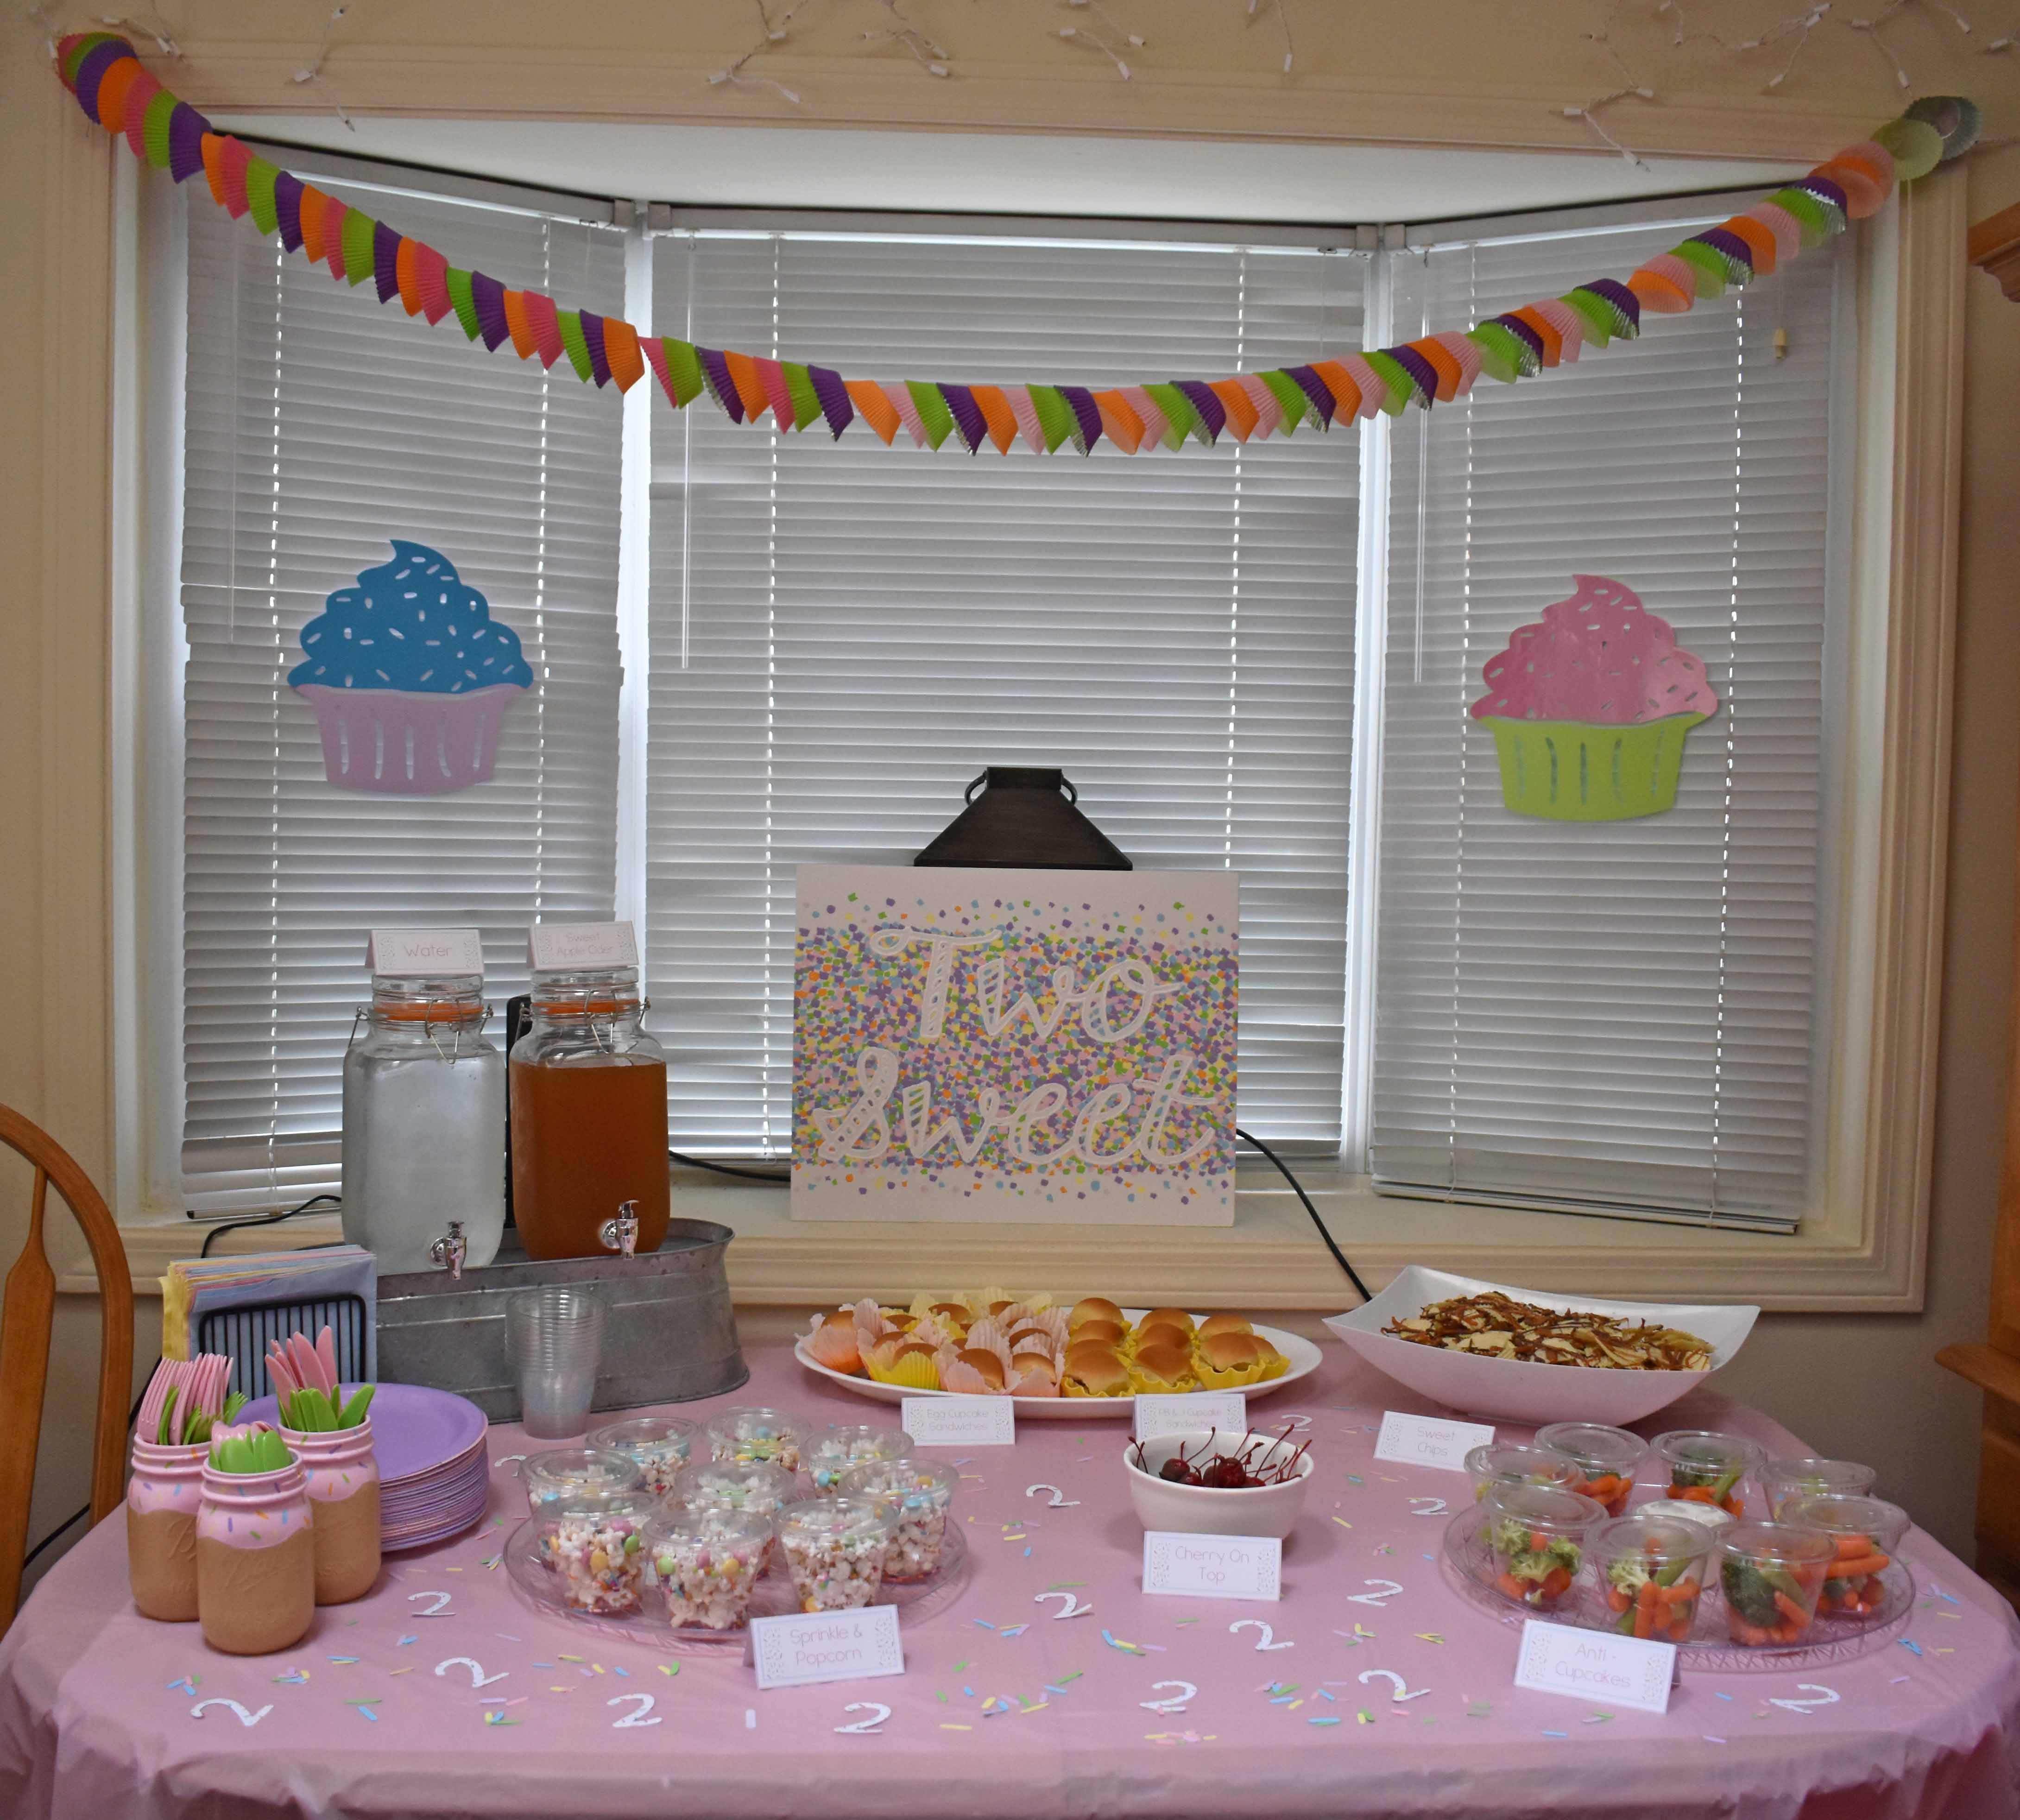


Beverages: I didn’t change up my beverages at all from last year. My daughter’s birthday is in the fall so we kept it simple and fall like. I just printed the labels on party themed paper. Other ideas would be some sort of sorbet soda mixture, or fun colored juices.
- Water
- Apple Cider (from the greatest cider place around: B. F. Clydes Cider Mill in Mystic, CT)

Decor: I spent a couple of months prepping the decor. It could be done in a couple weeks if that’s all the time you have, but I enjoy taking my time and making it a fun project instead of a trying to do it all at once. I took some of my inspiration from Pinterest but most of this, I just had to come up with (which was harder than I thought it would be). I’ll try to give detailed explanations so that you know what to do.
- Cupcake Garland: This turned out exactly how I envisioned it, however it took way longer than I thought it would. It’s literally cupcake papers strung together with thread. I used a needle to thread it through each cupcake paper. I had to put tape between each paper to stop them from piling back together which is what took the most time. I loved it though, it was perfect.
- Giant Cupcakes: Since I already had the file for the smaller cupcakes, I just enlarged them and put them on the windows because the space looked blank. They ended up being
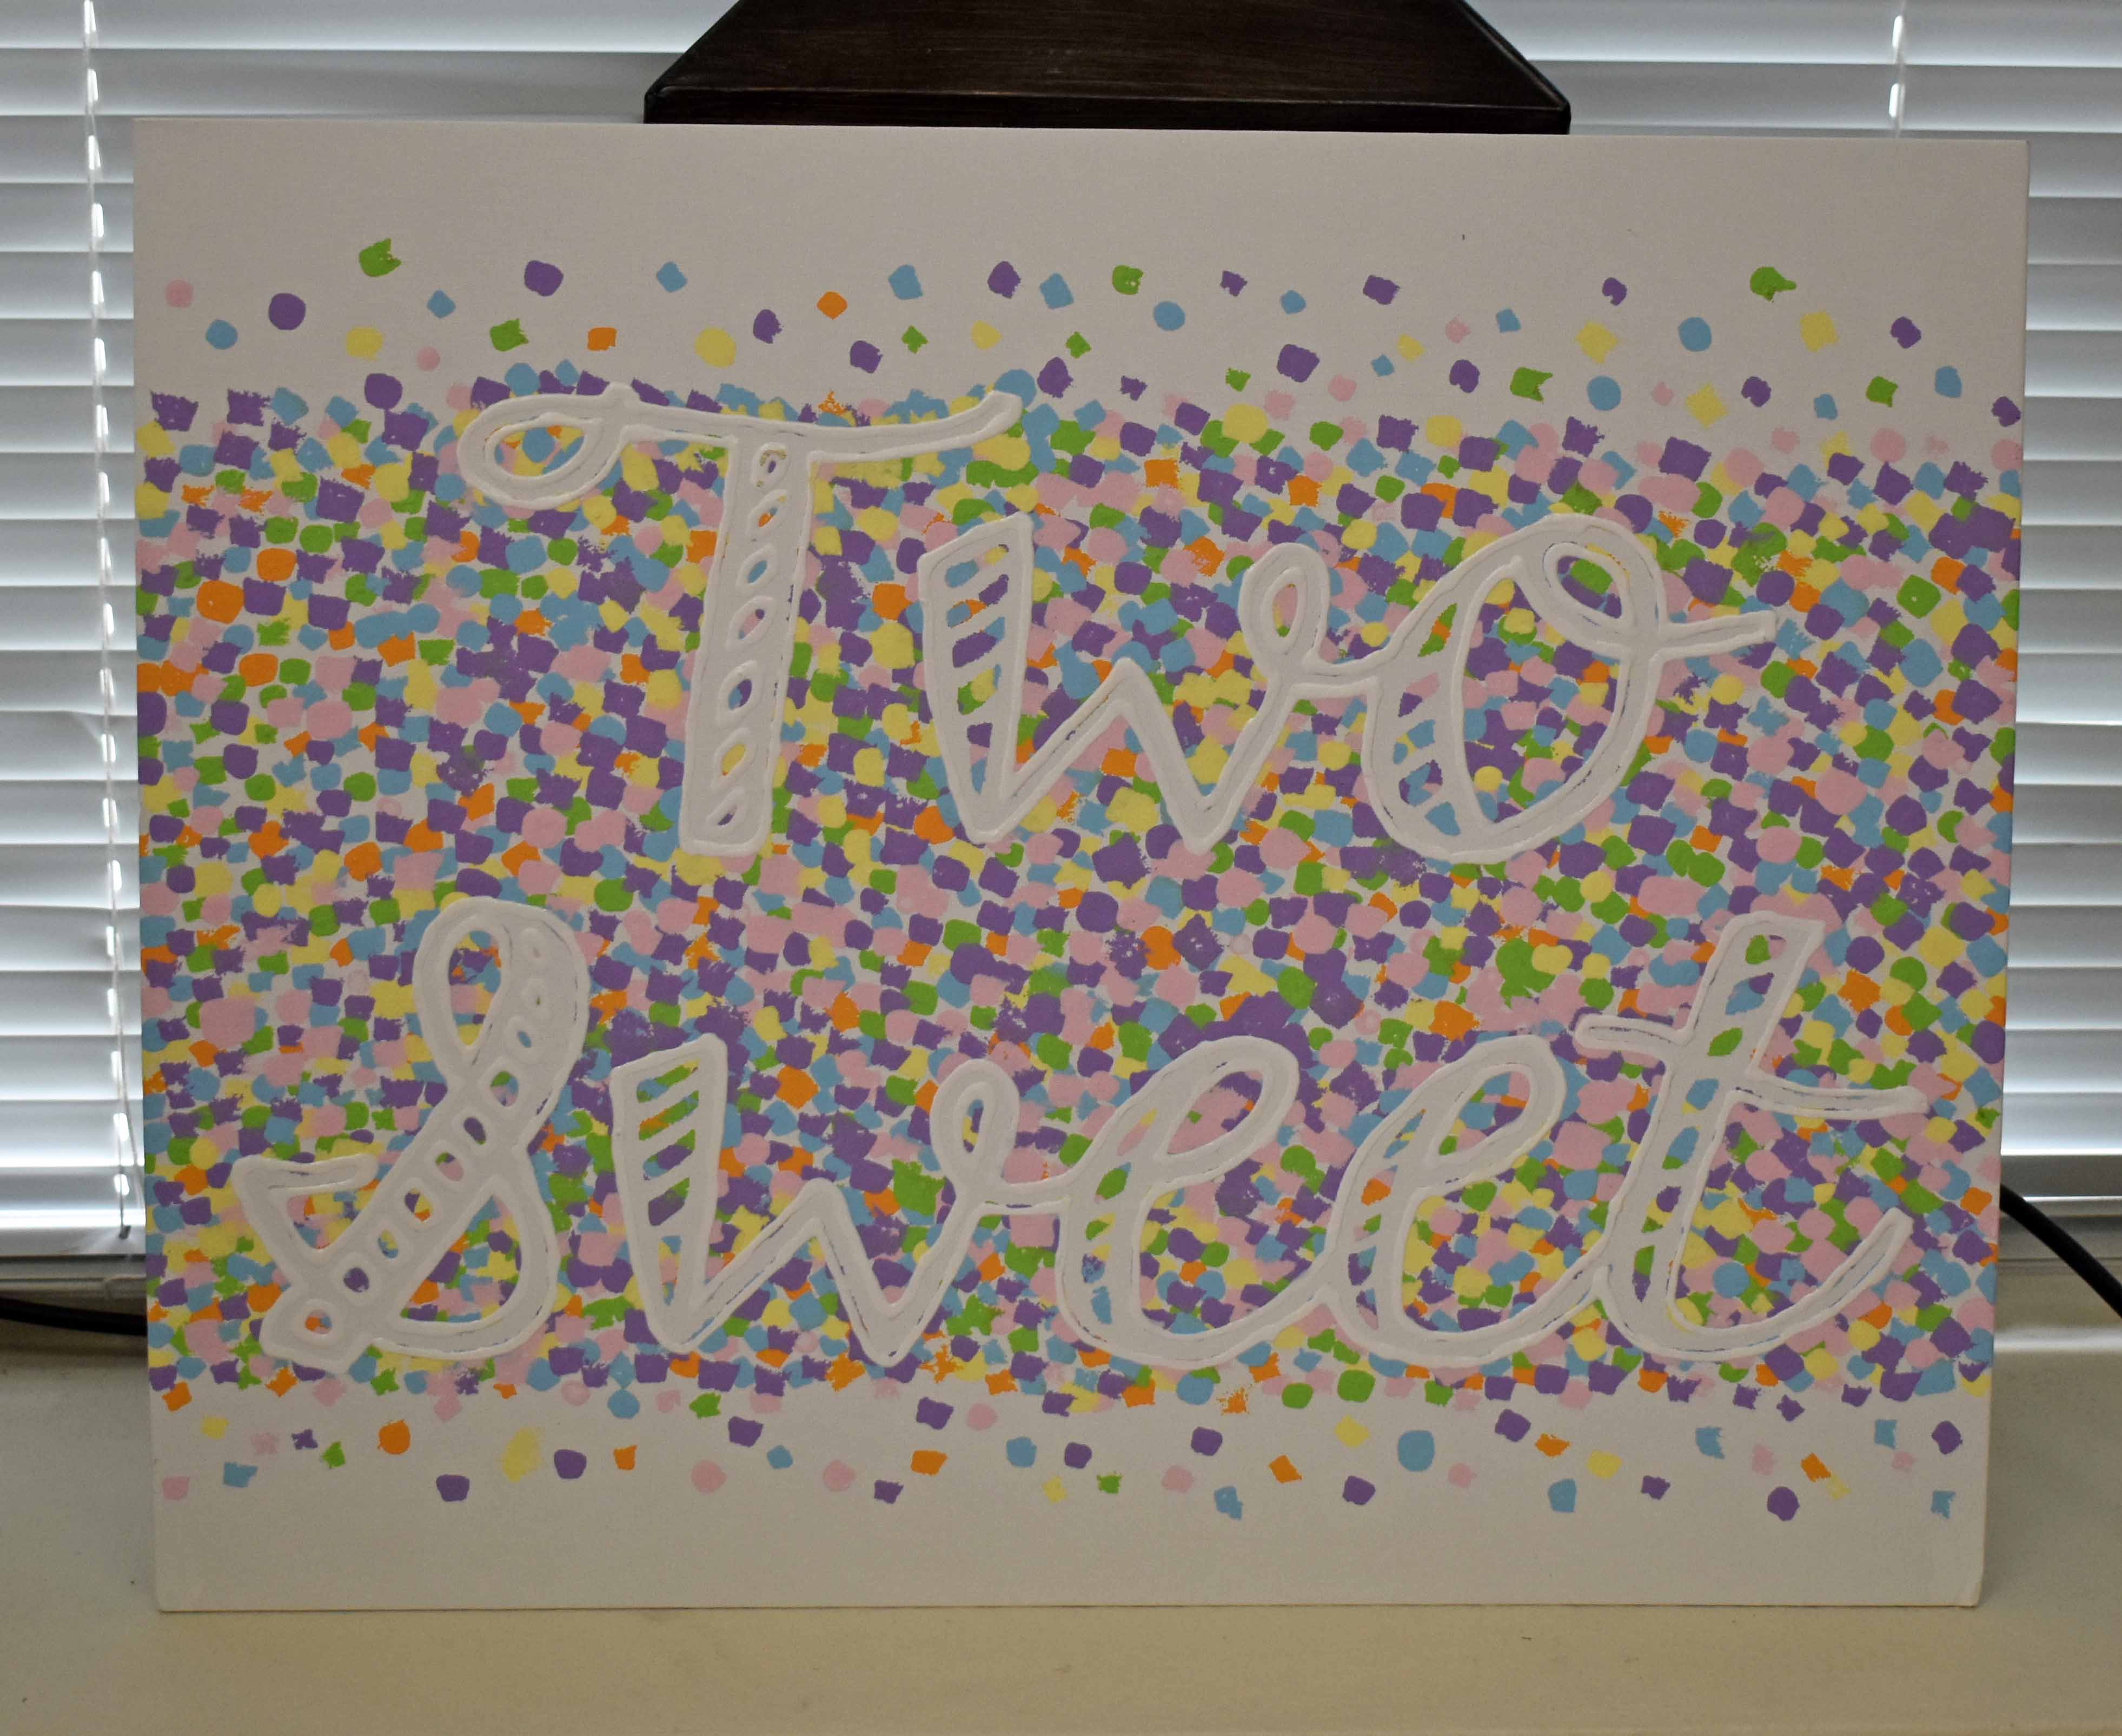
11.5″ x 11.5″. - “Two Sweet” Painting: This was super easy and didn’t come out exactly as I wanted, but was still cute. I cut out a stencil and placed it on canvas. Then I took a dotting paint brush and dotted little dots, in the party colors, all around the stencil. Once it all dried, I peeled back the stencil and used puff paint to outline the letters to make them stick out!
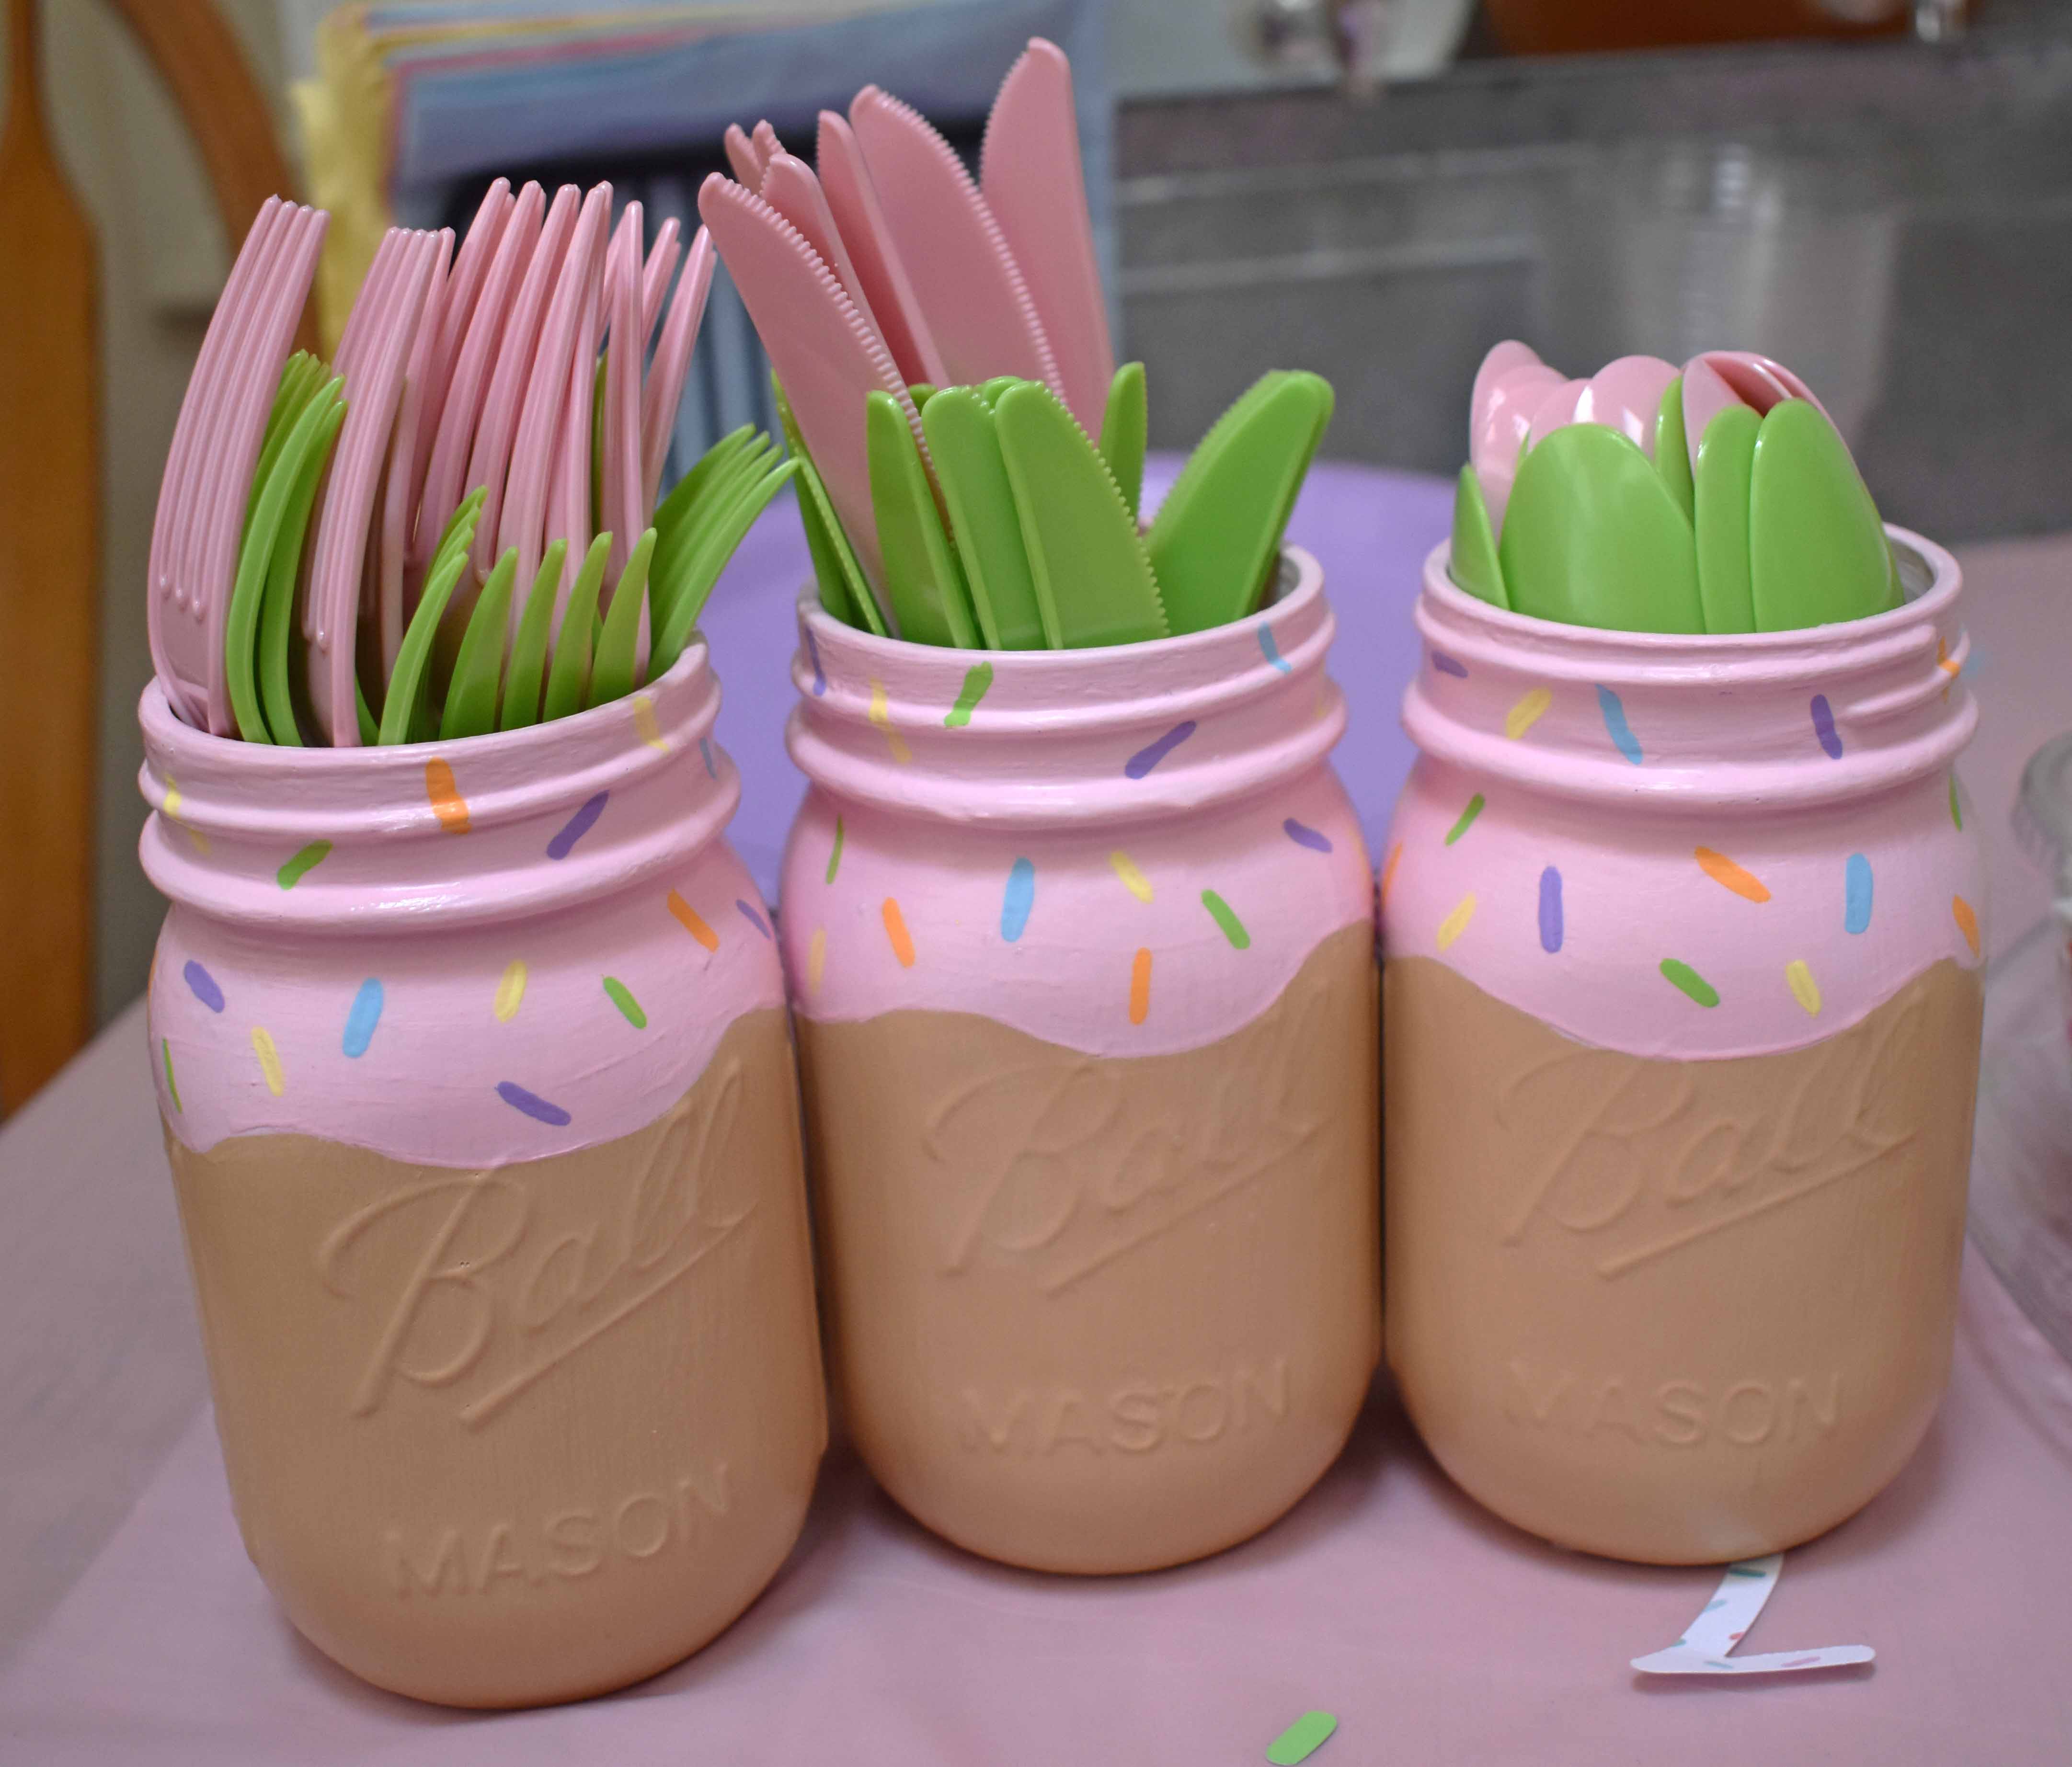
- Cupcake Utensil Holders: I think that these were originally for an ice cream party, but I made them work for my cupcake party. I found a picture on Pinterest that I used for inspiration and just painted away. I sealed the mason jars with mod podge to make sure that the paint didn’t chip off. I saved these for the summer. I think they would be cute to bring out at summer picnics.
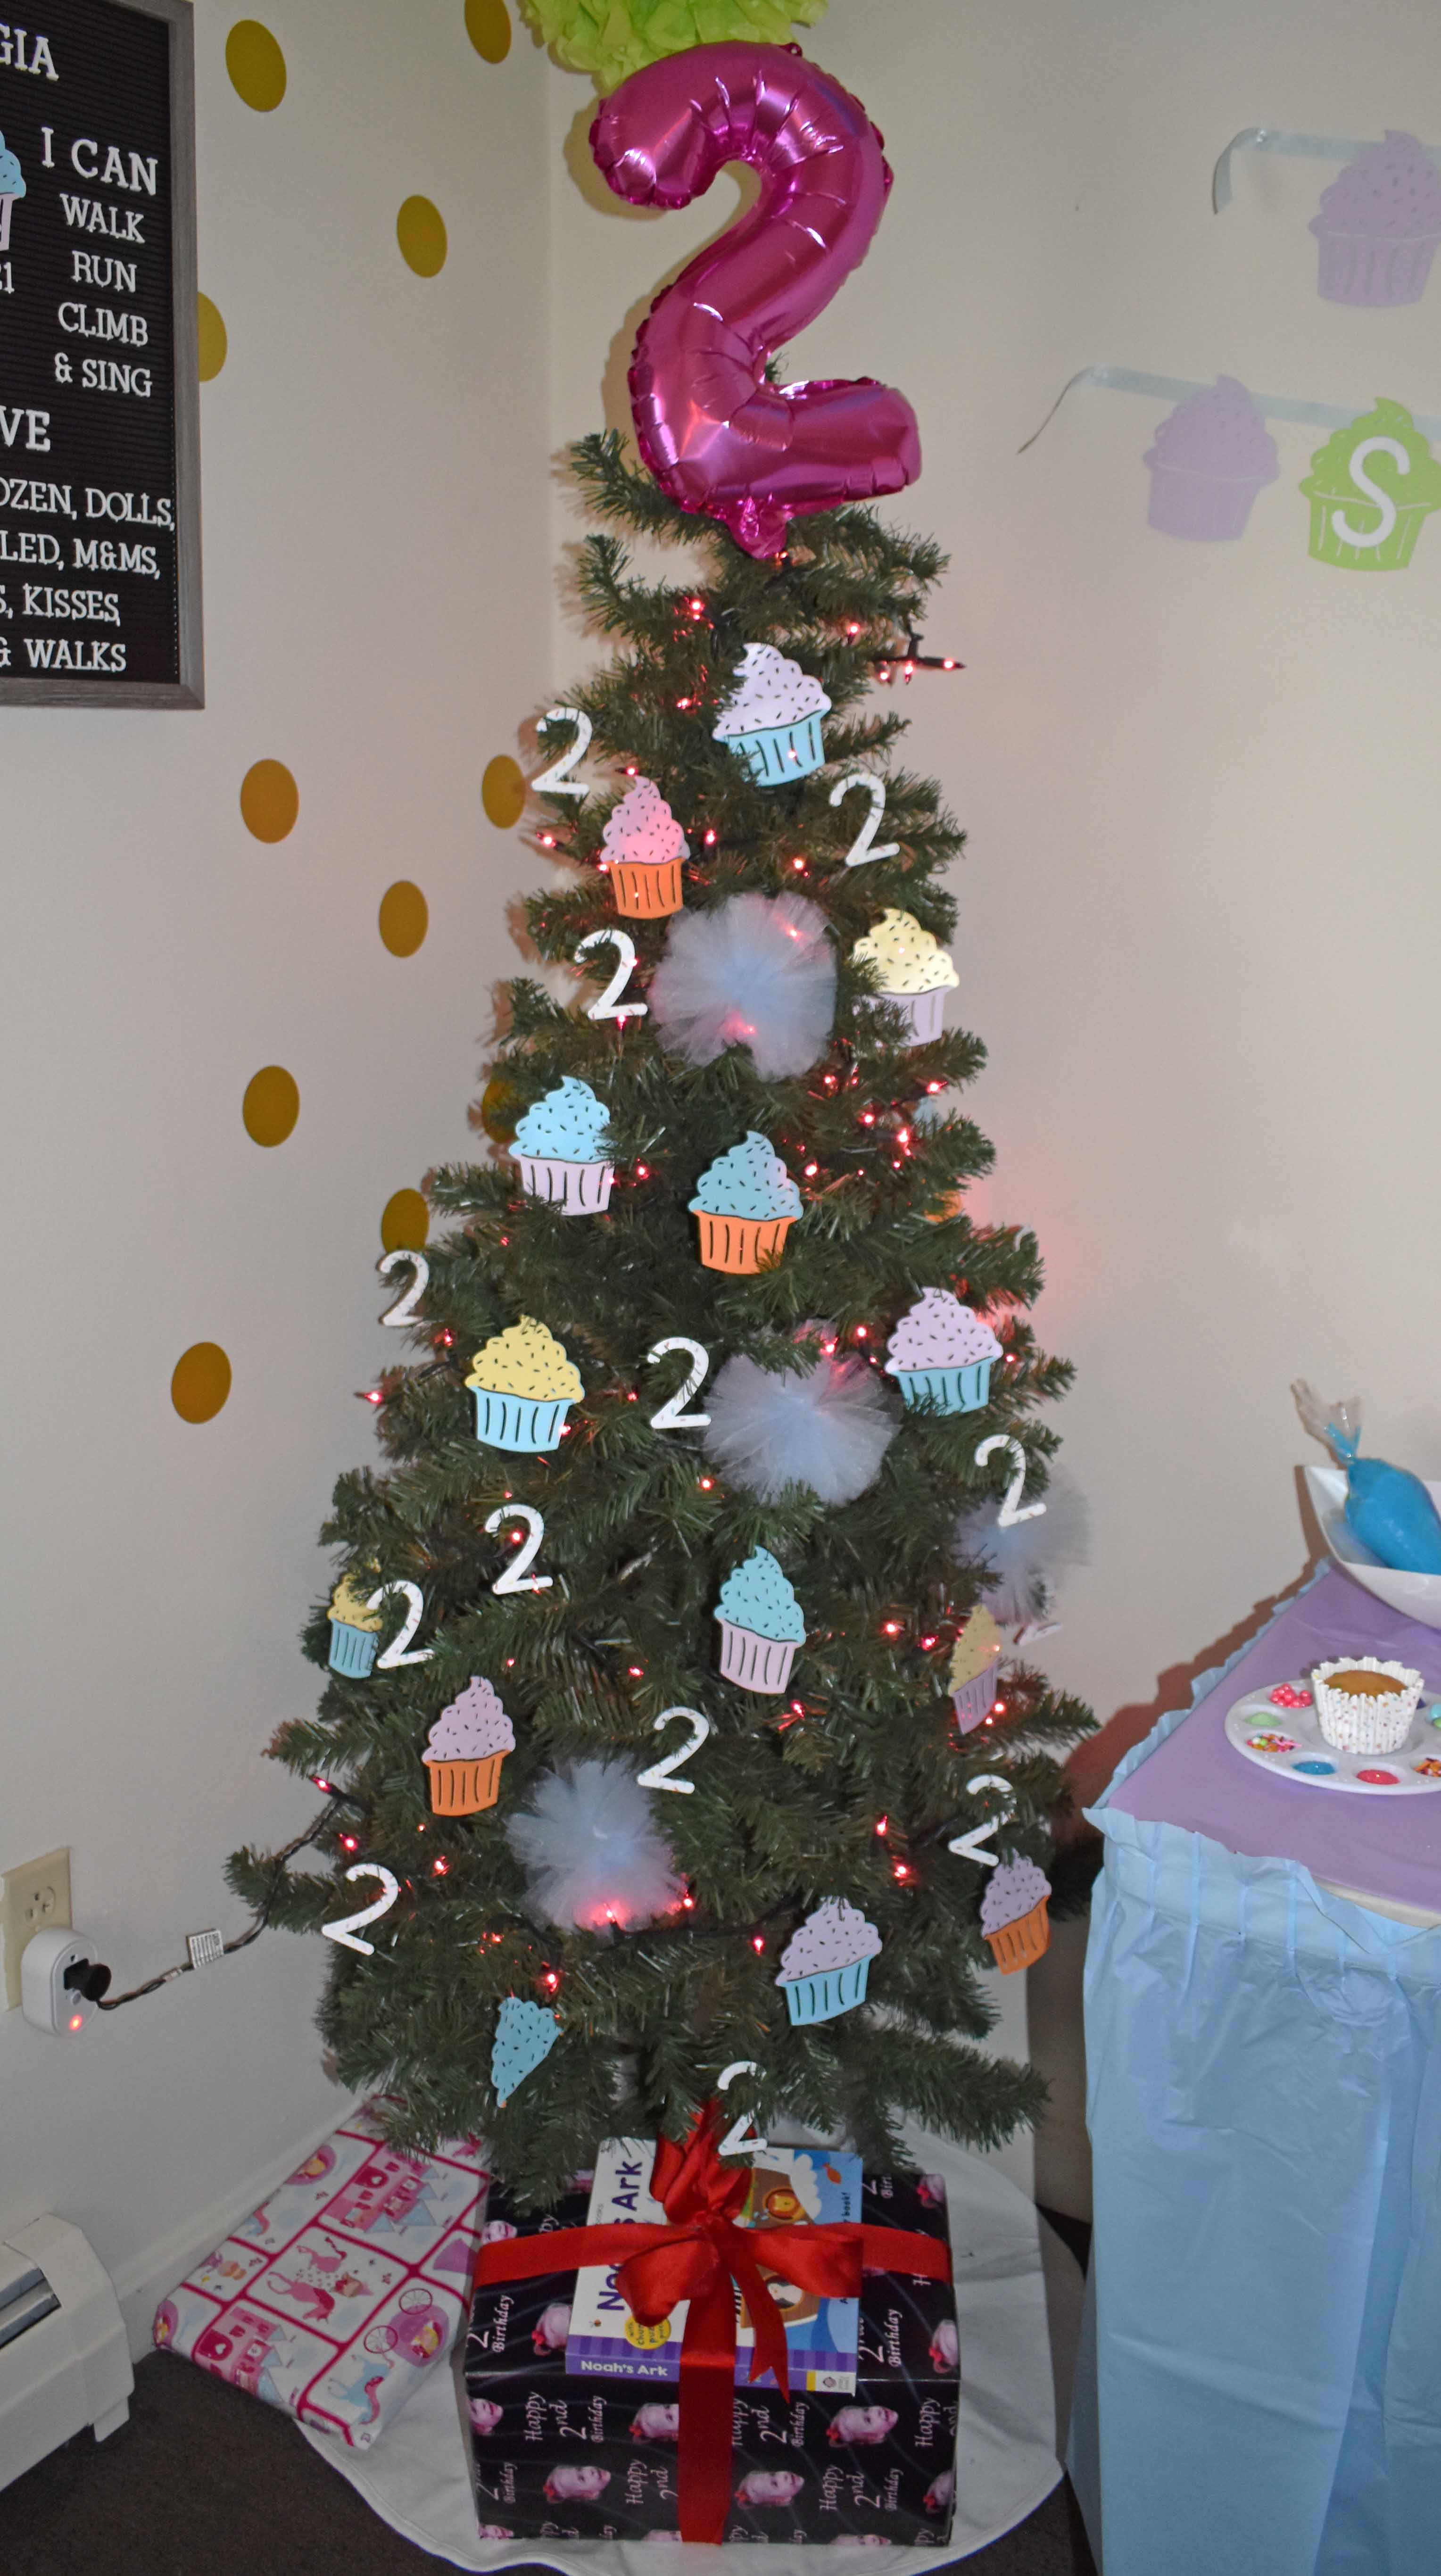
- “Two Sweet” Tree: This was so fun to do. I used the same paper cupcakes that I used on the banner, but added vinyl “frosting” to them. I also found sprinkle paper at Michaels and made little 2 ornaments. I finalized it with some tulle pompoms.
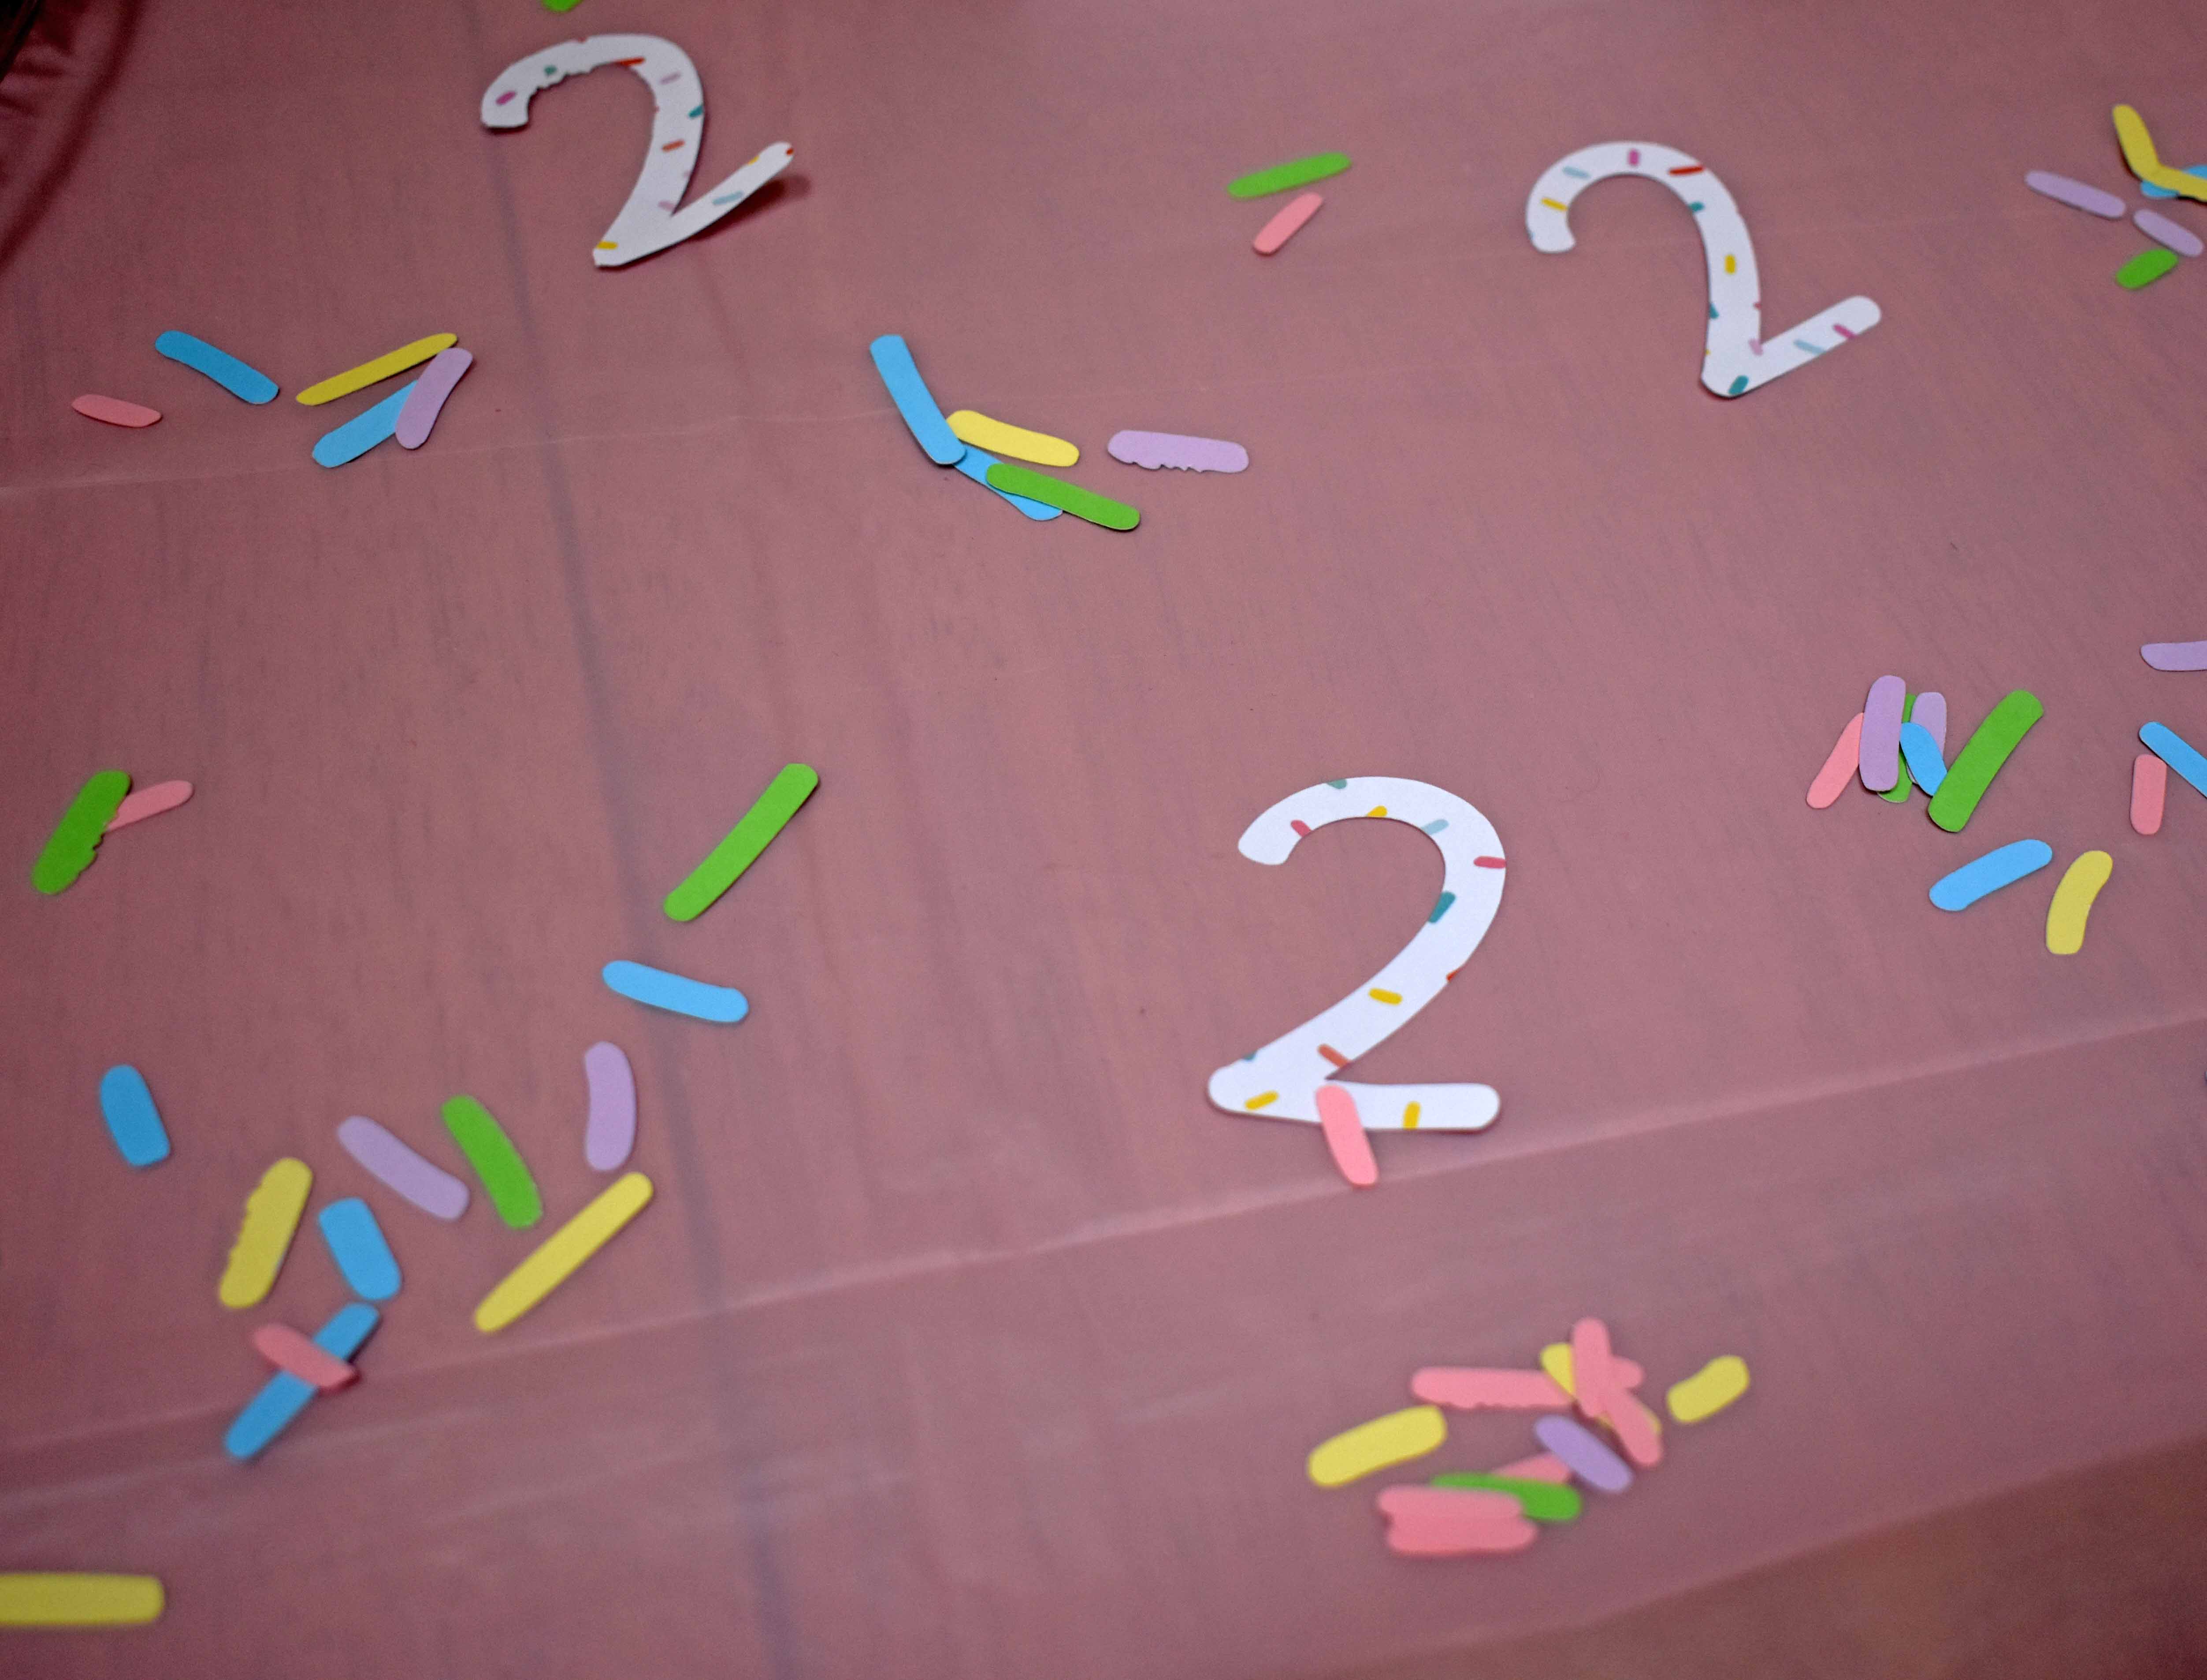
- Confetti: I made the confetti with my Cricut. It was super tedious to “weed” these sprinkles out from the paper, but they turned out just how I pictured. I put them around on the tables to make them look less empty.
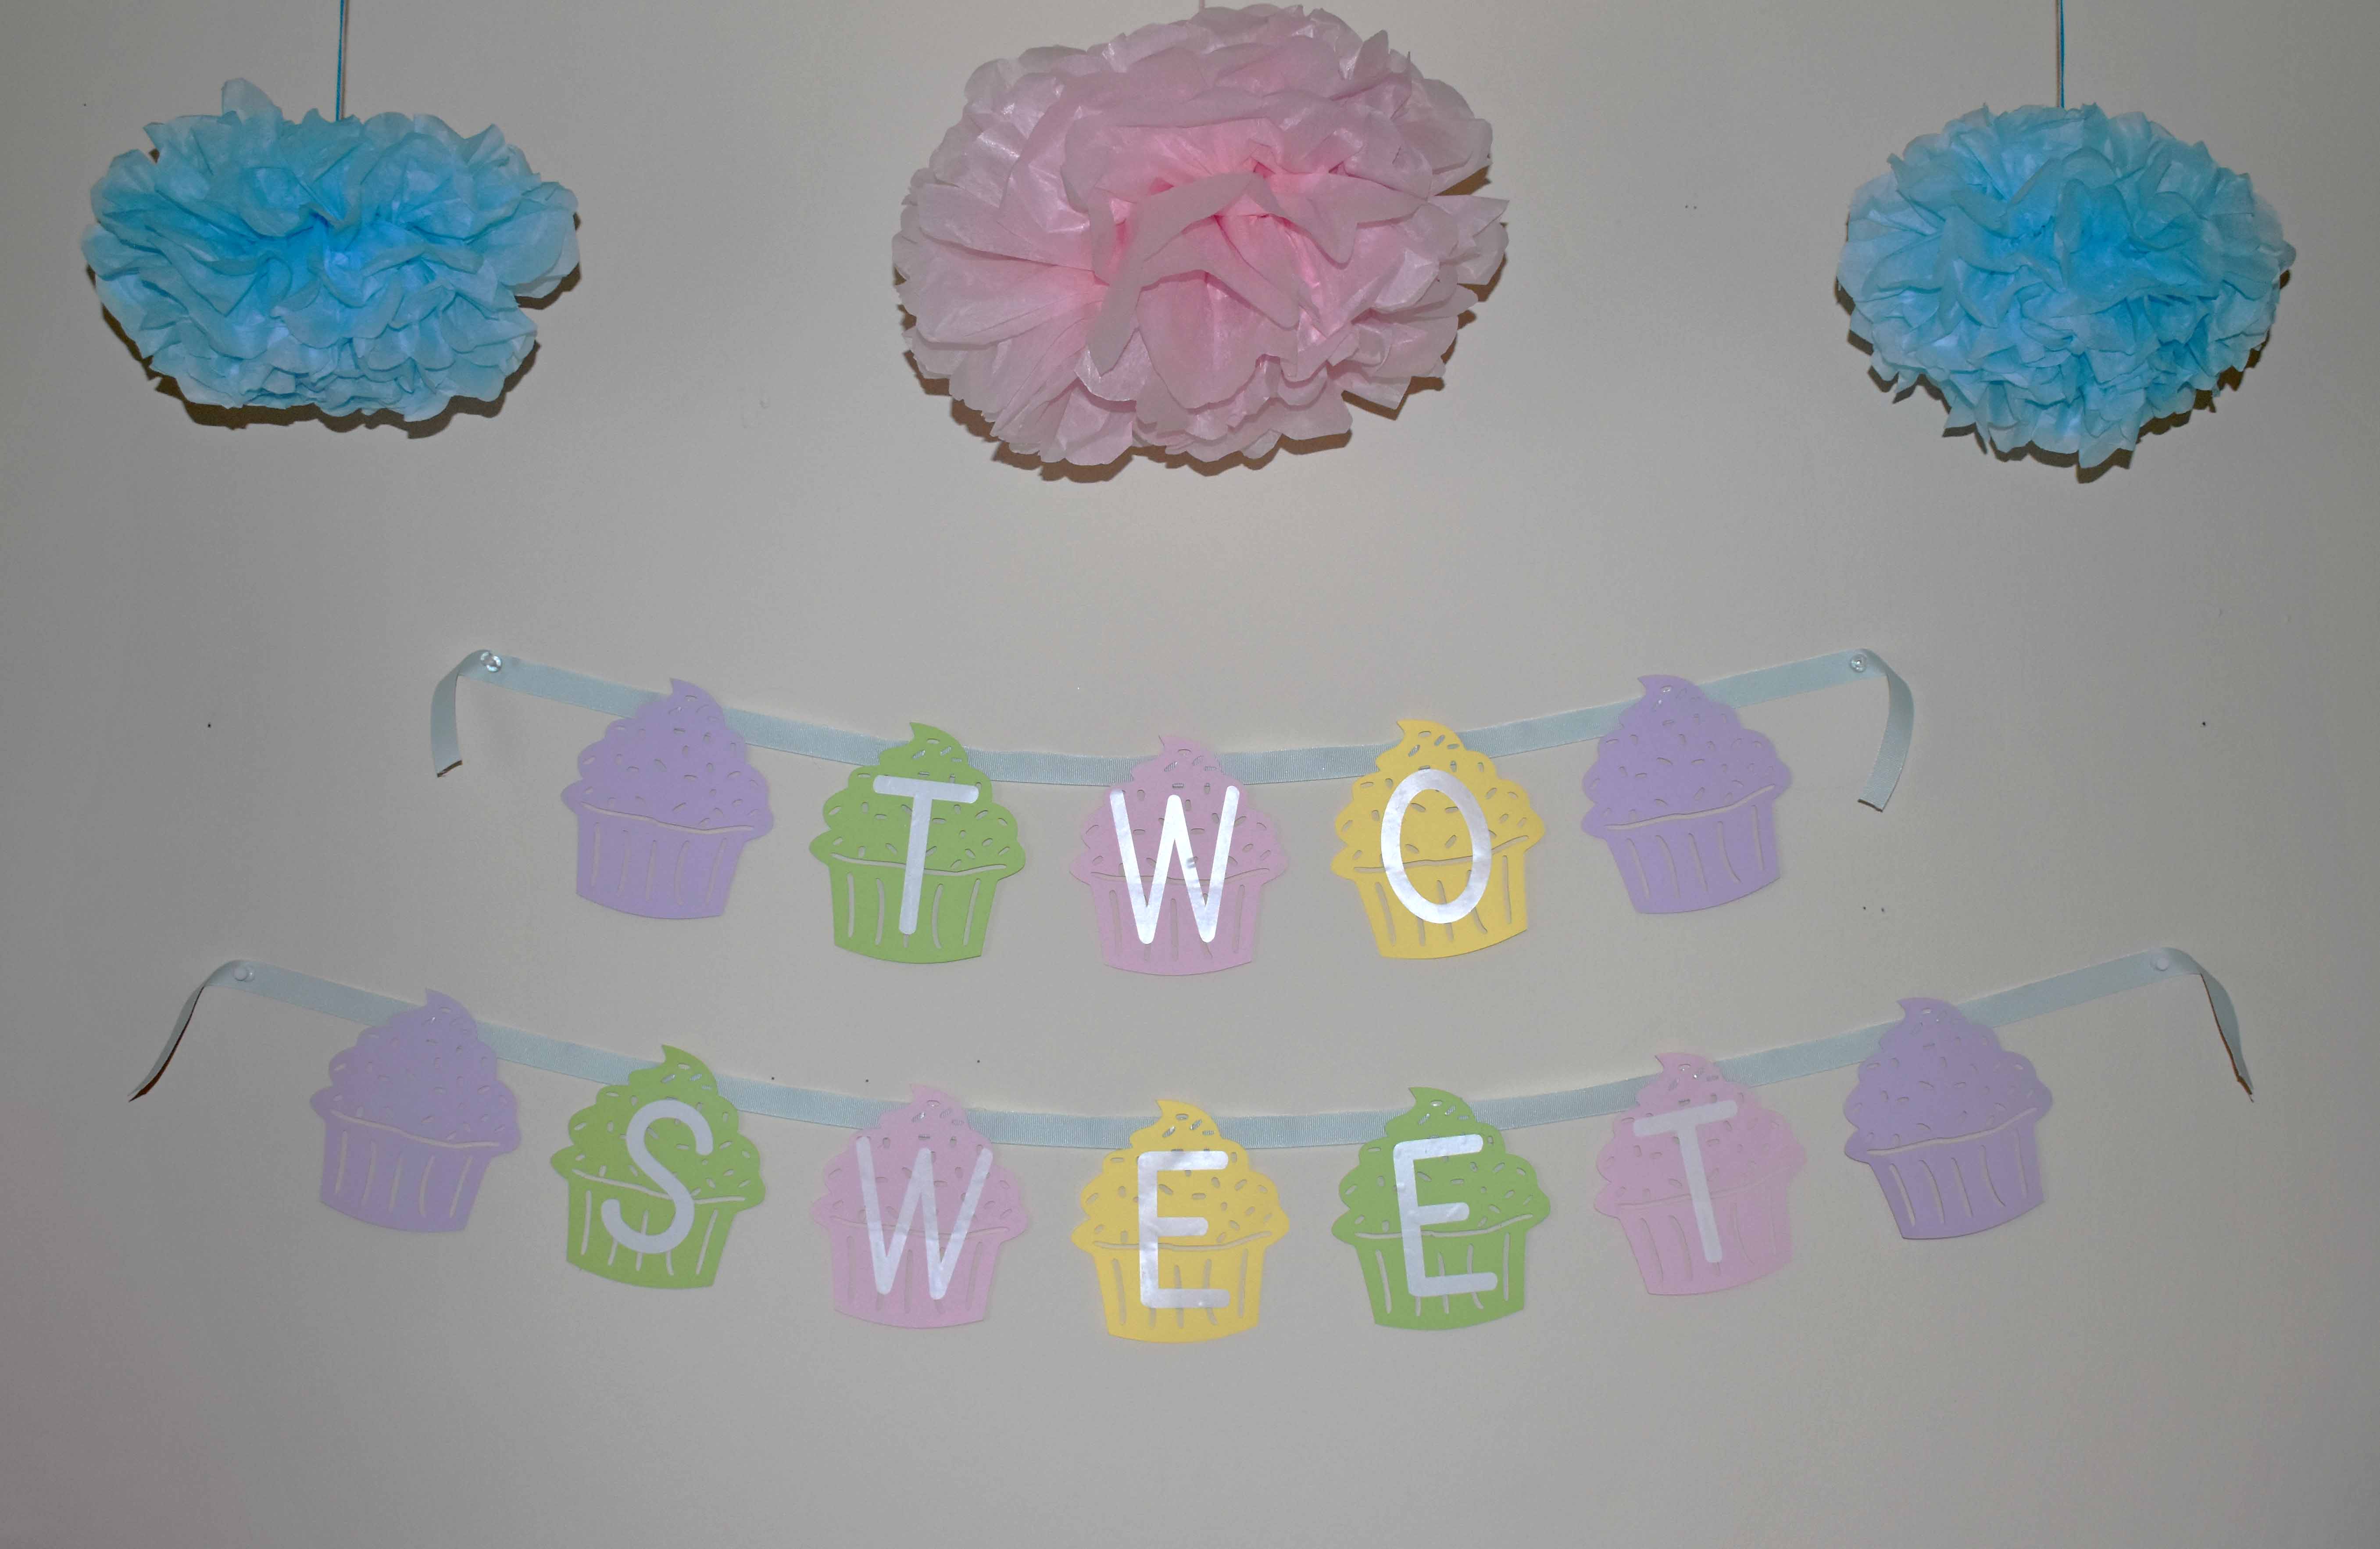
- “Two Sweet” Banner: Using my Cricut, I cut out little cupcakes and then cut out the letters on sticker vinyl to place them on the cupcakes. I hot glued them onto the ribbon and hung it on the wall.
- Table Cloths: I found the CUTEST table cloth skirt on amazon which tied together the cupcake area. I ended up finding the correct pastel colors for the other table cloths on Amazon too. If you have a Hobby Lobby close to you, that would be a cheaper option.
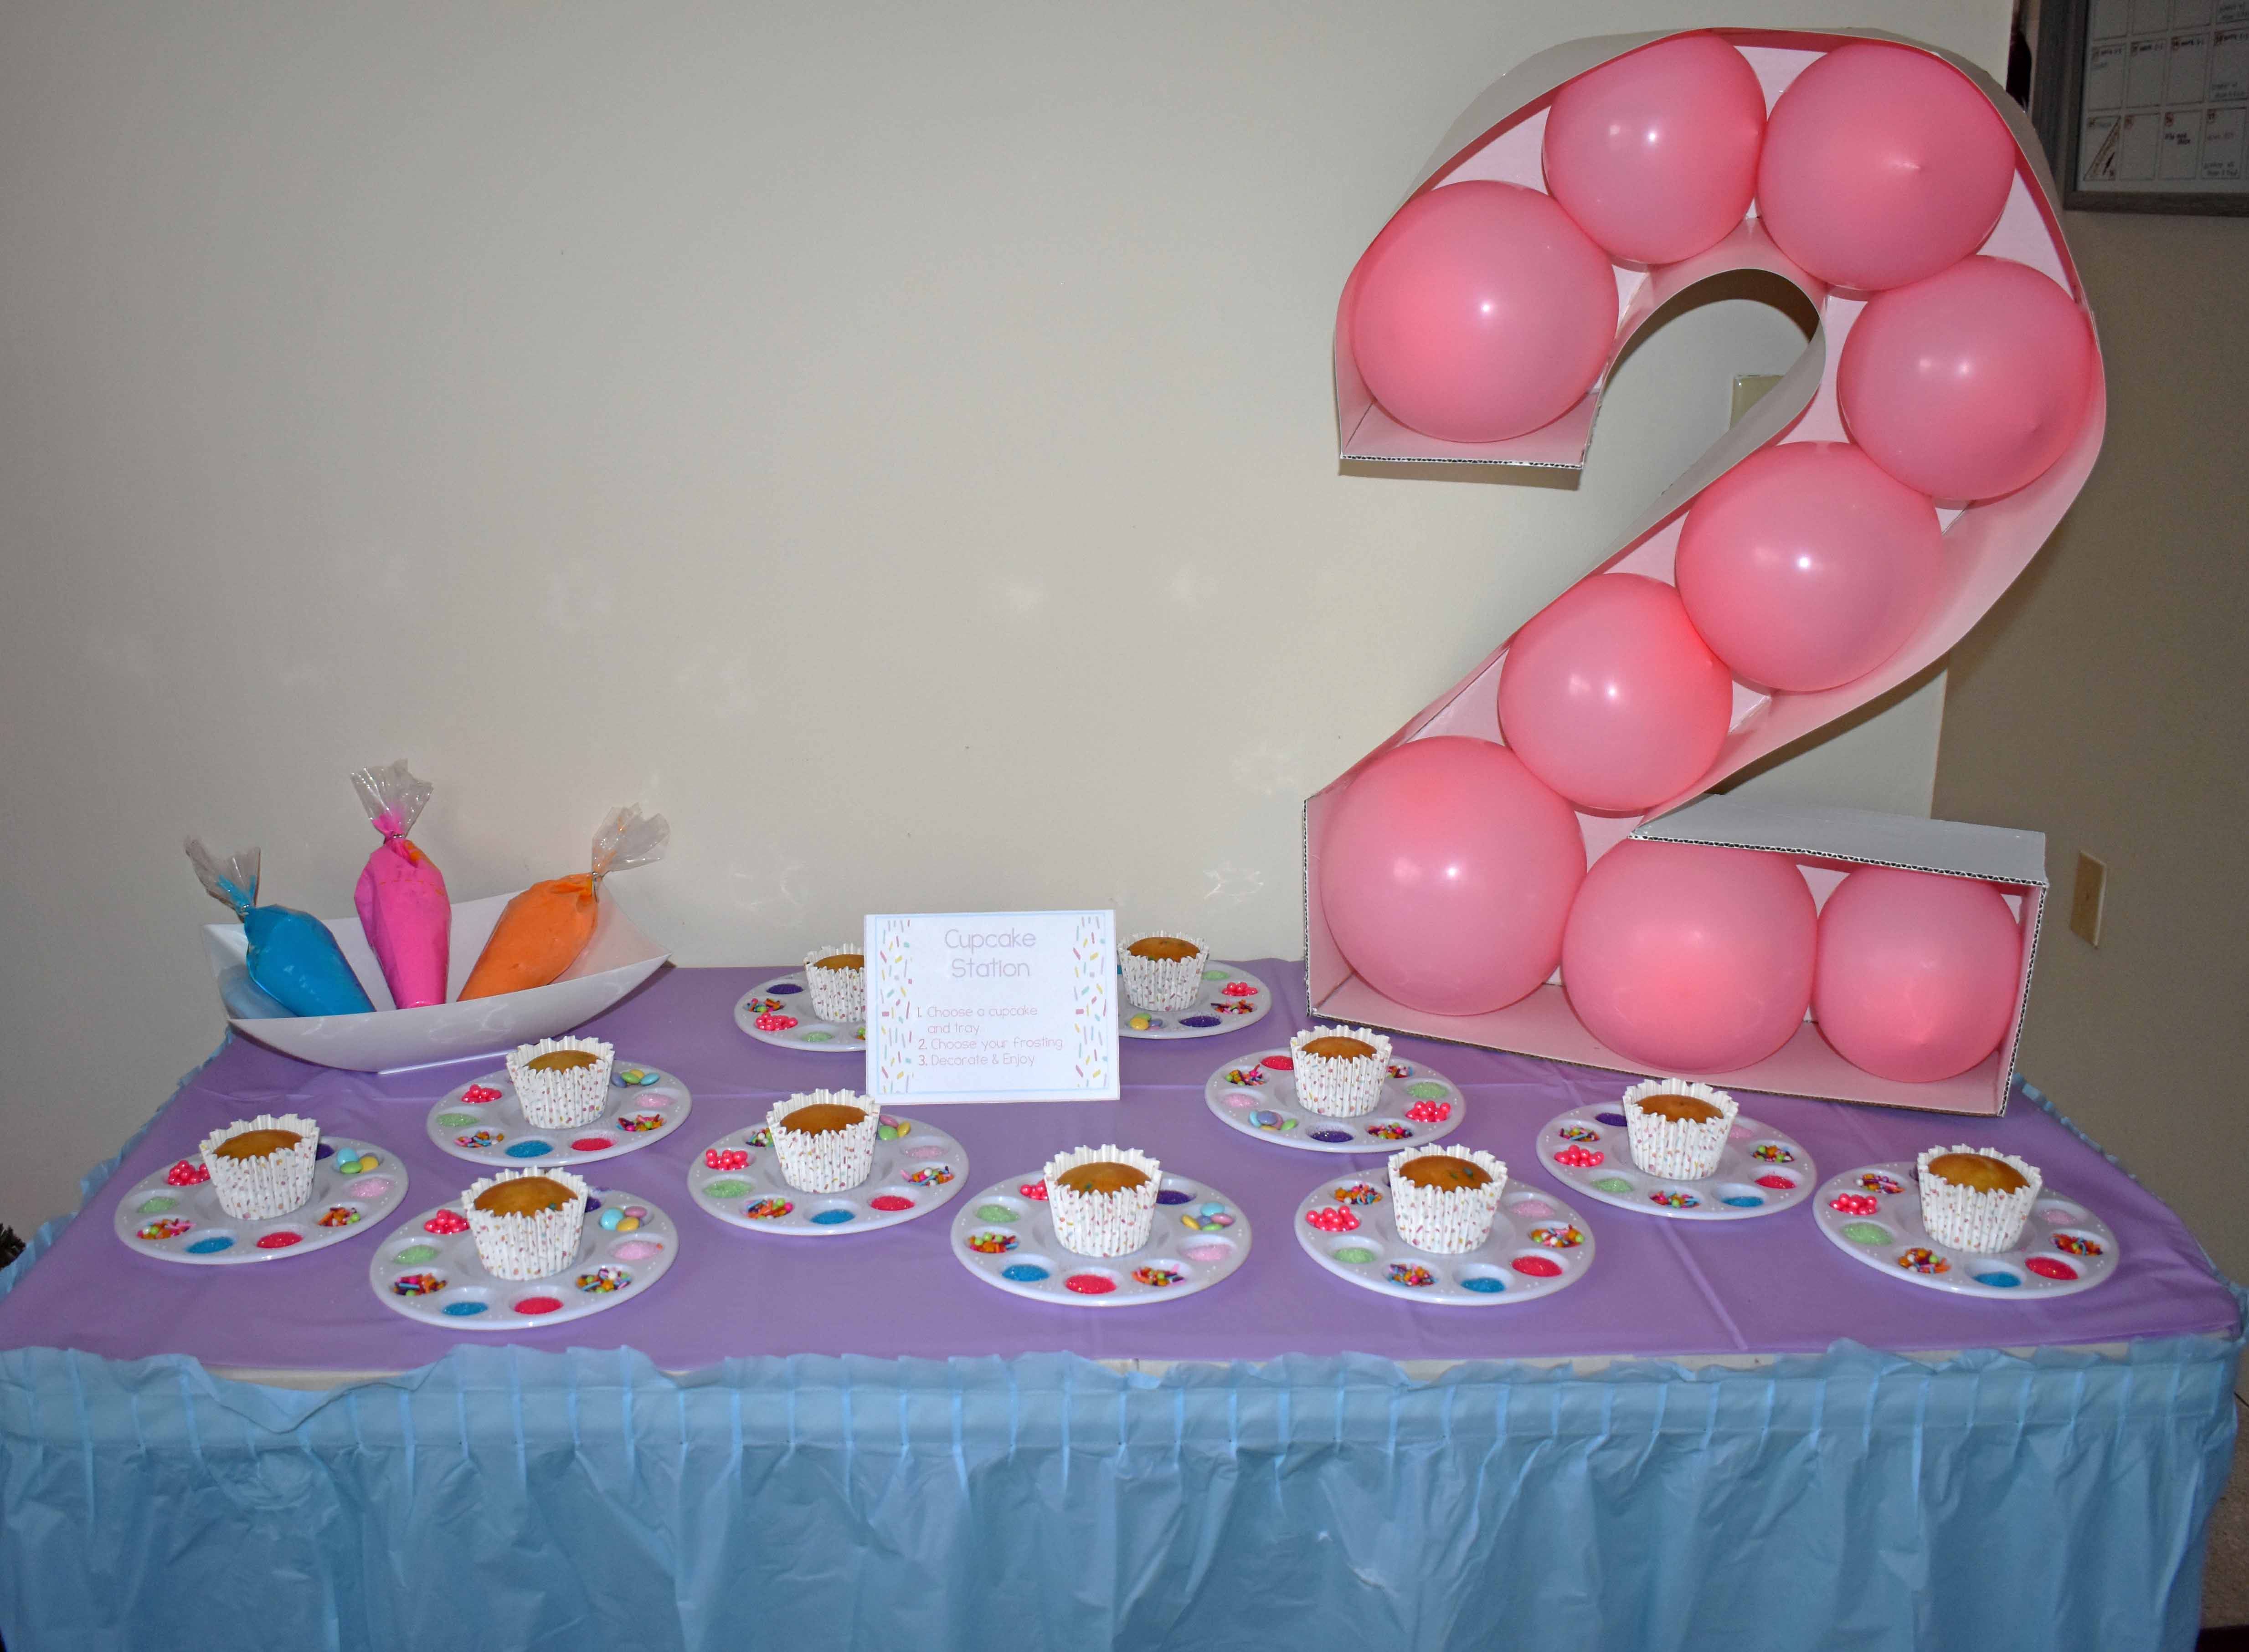
- Mosaic 2 Balloon: I really tried hard on this one. I watched YouTube videos and I scrolled Pinterest. It was cute but not exactly what I was going for. I highly suggest watching this Youtube video (here) and making one of these the way that this sweet lady did because hers were perfect.
- Tissue Paper PomPoms: I found a tutorial on Pinterest and made these super cute and easy pompoms. I now have them hanging in my daughters room. Here is the tutorial link (click here).

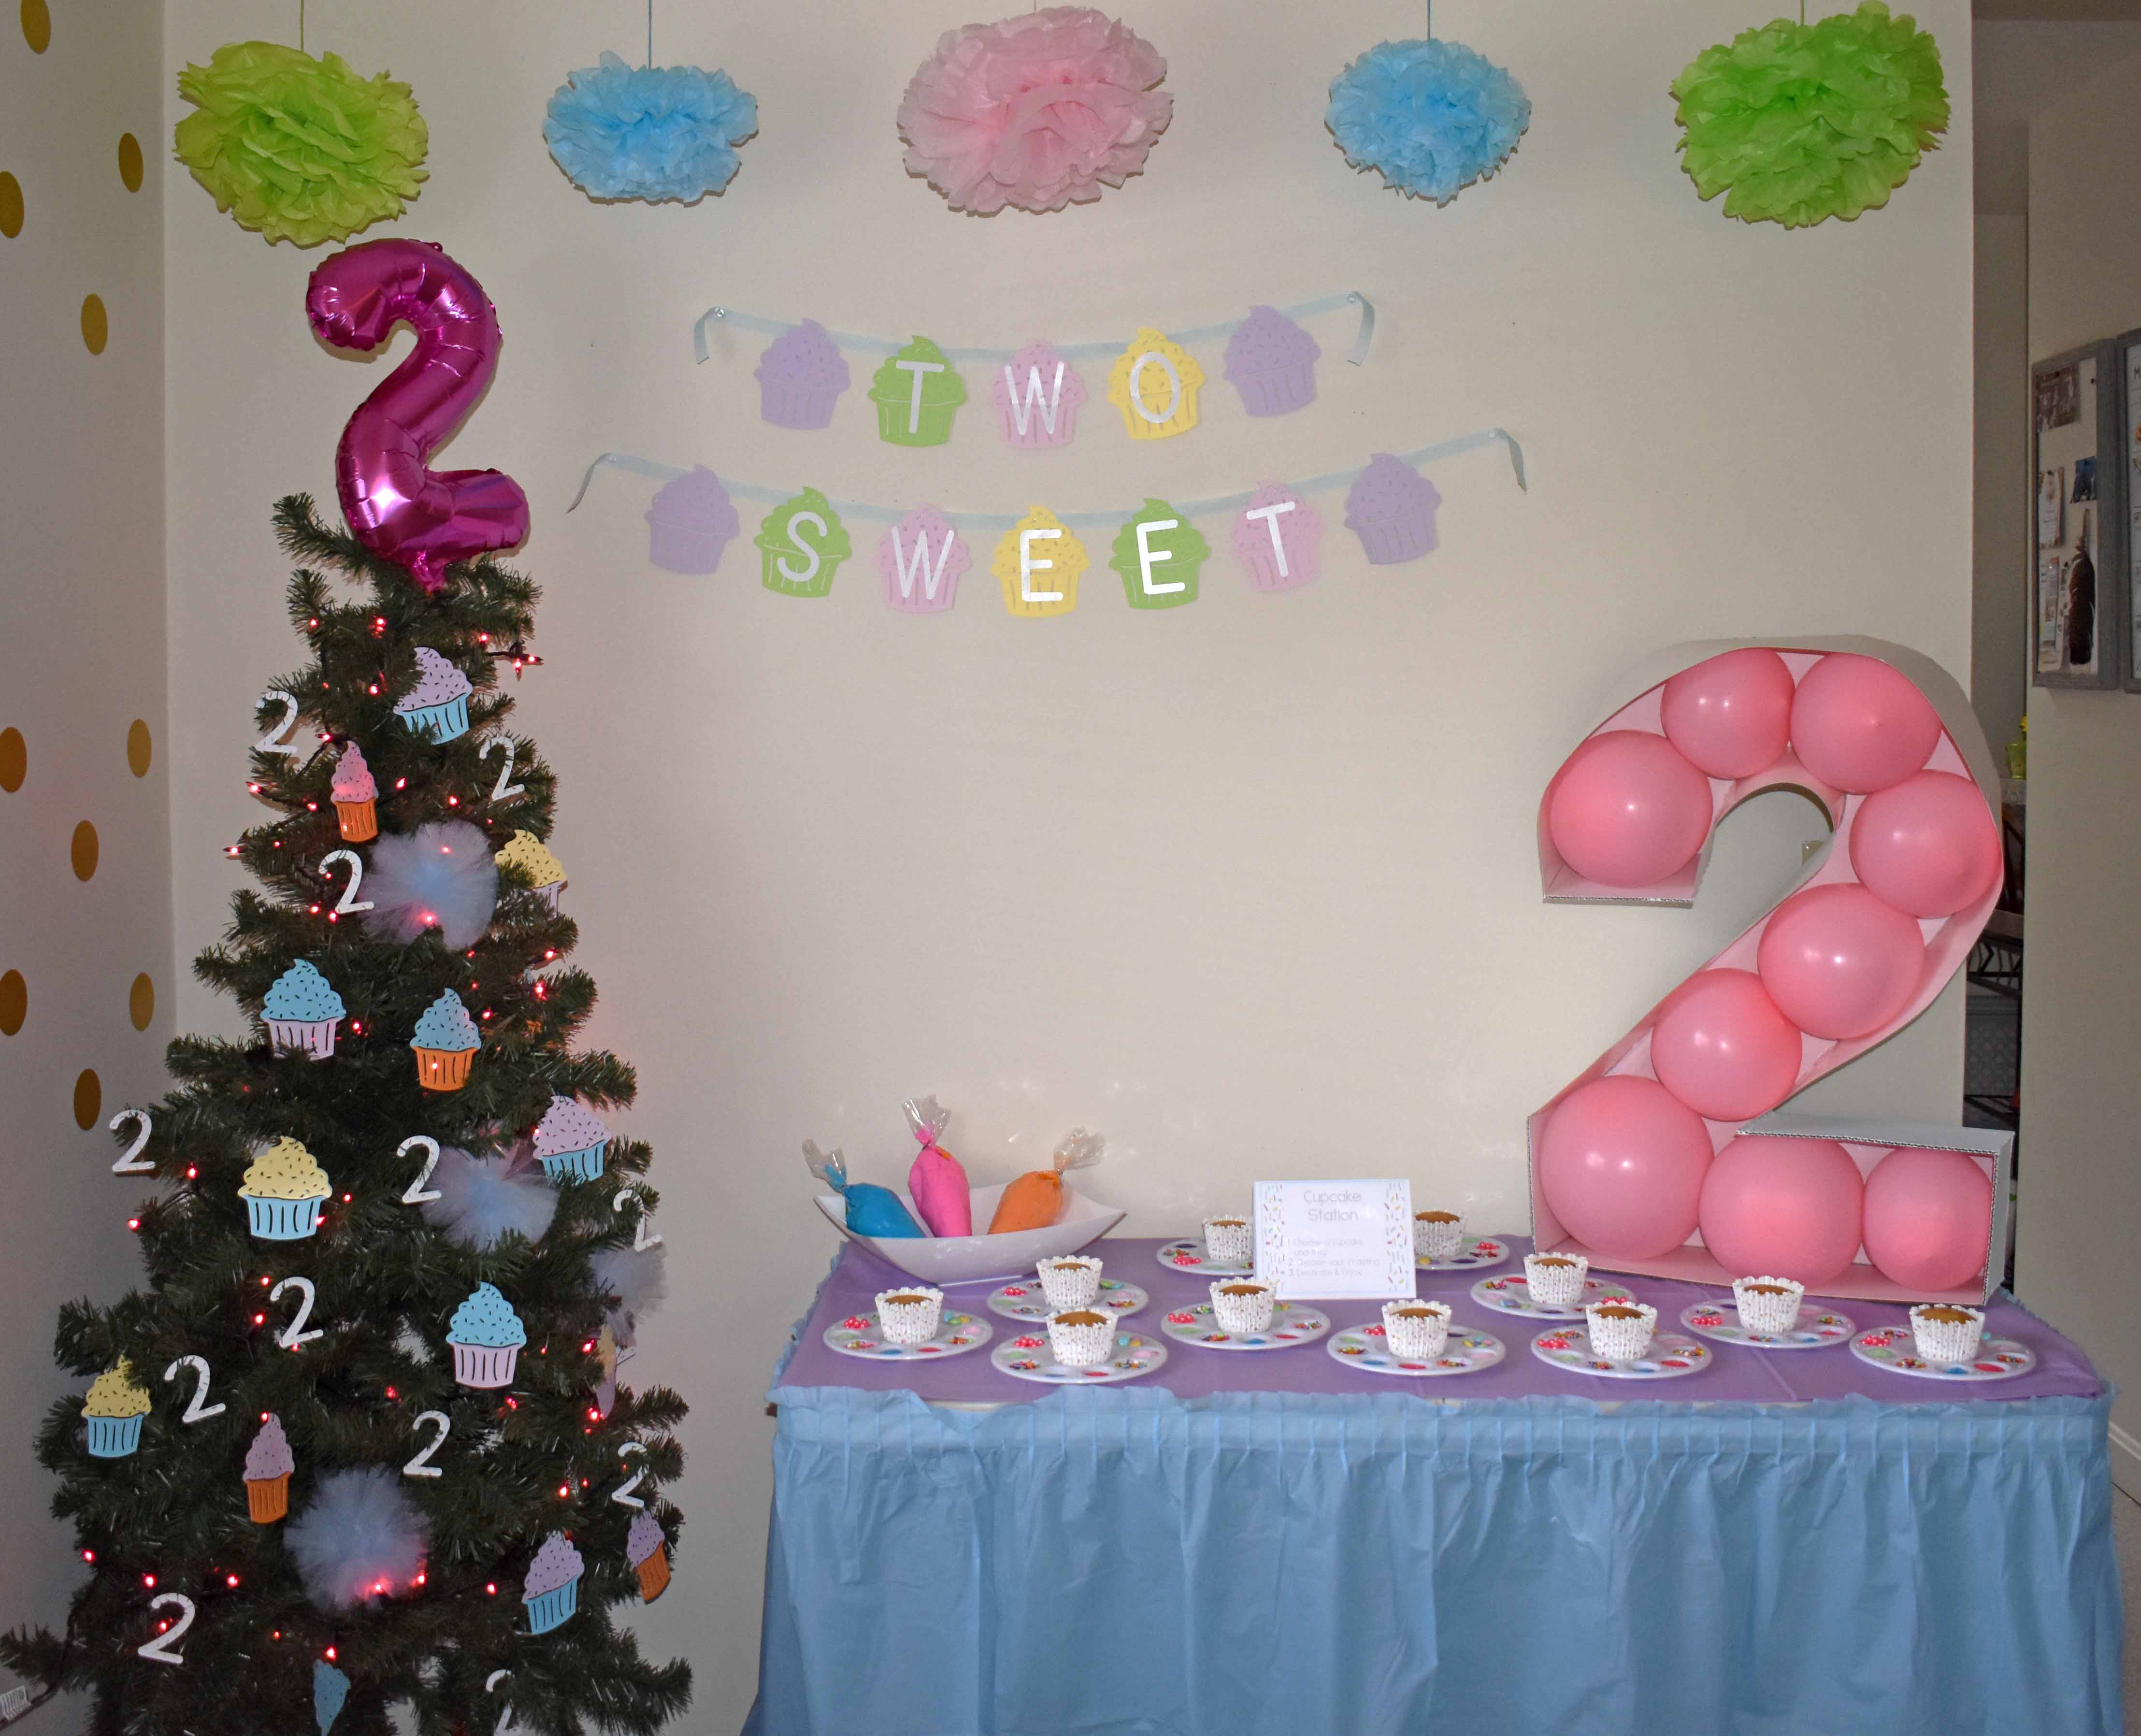
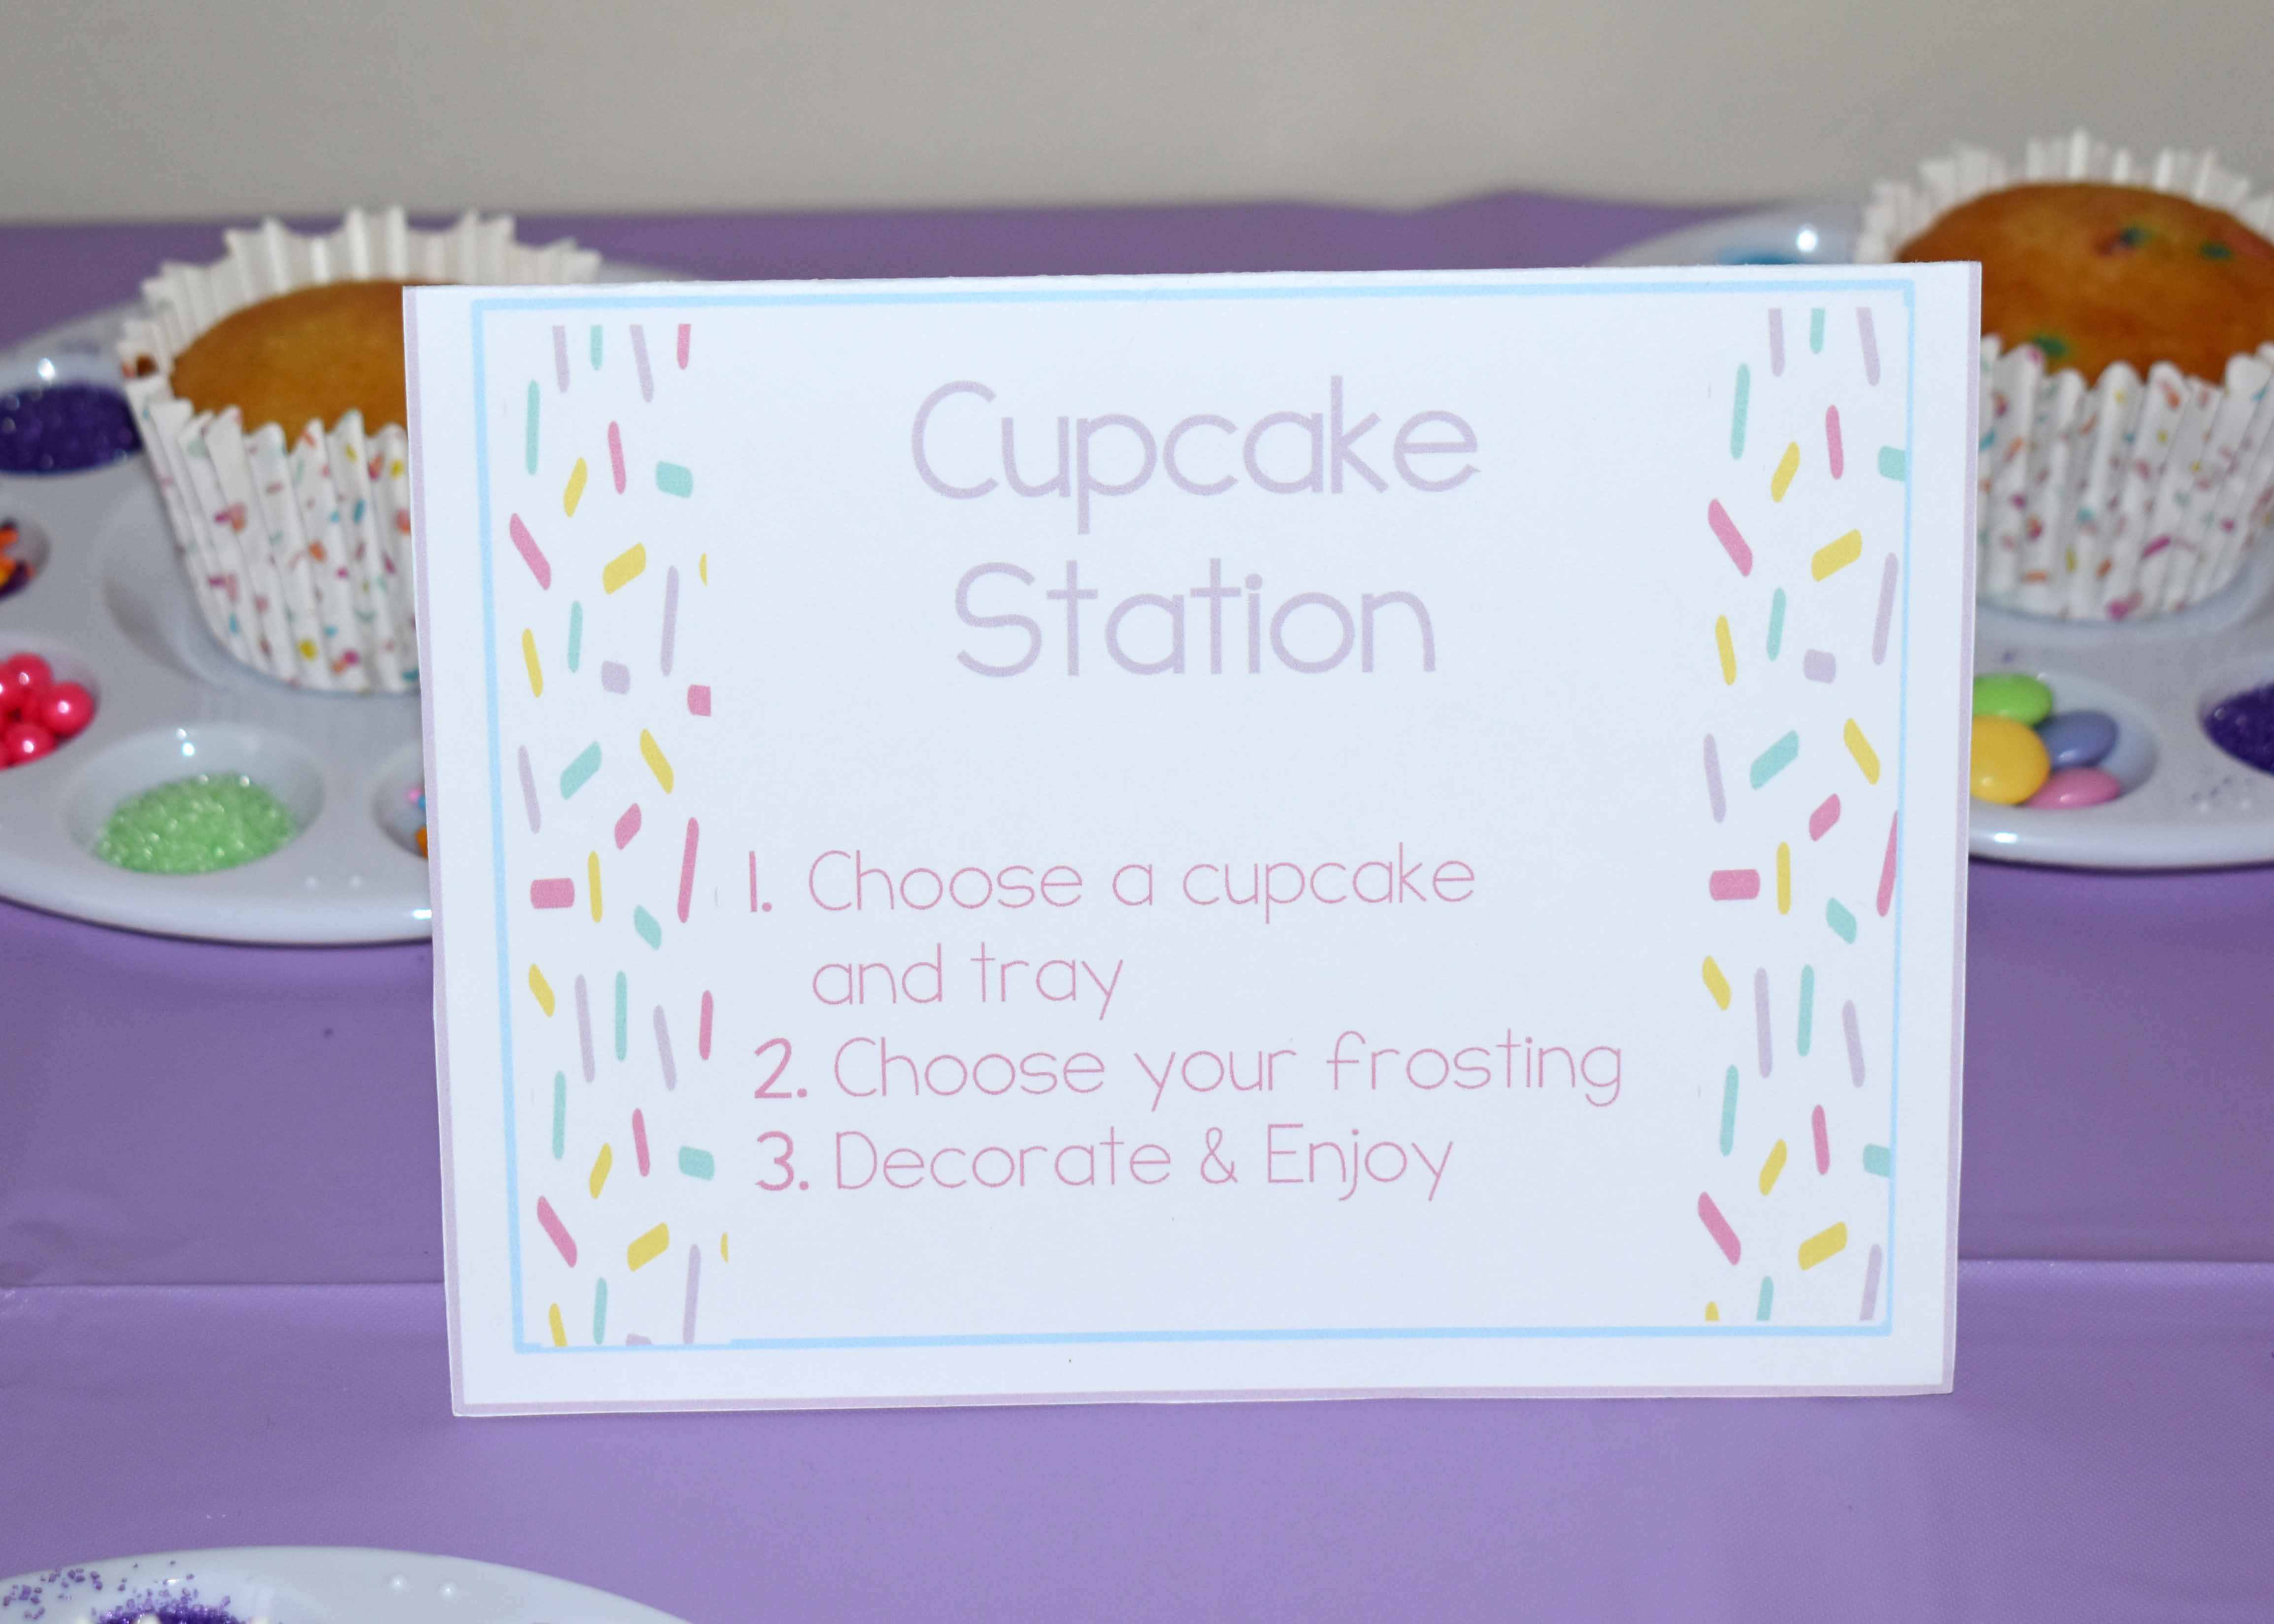
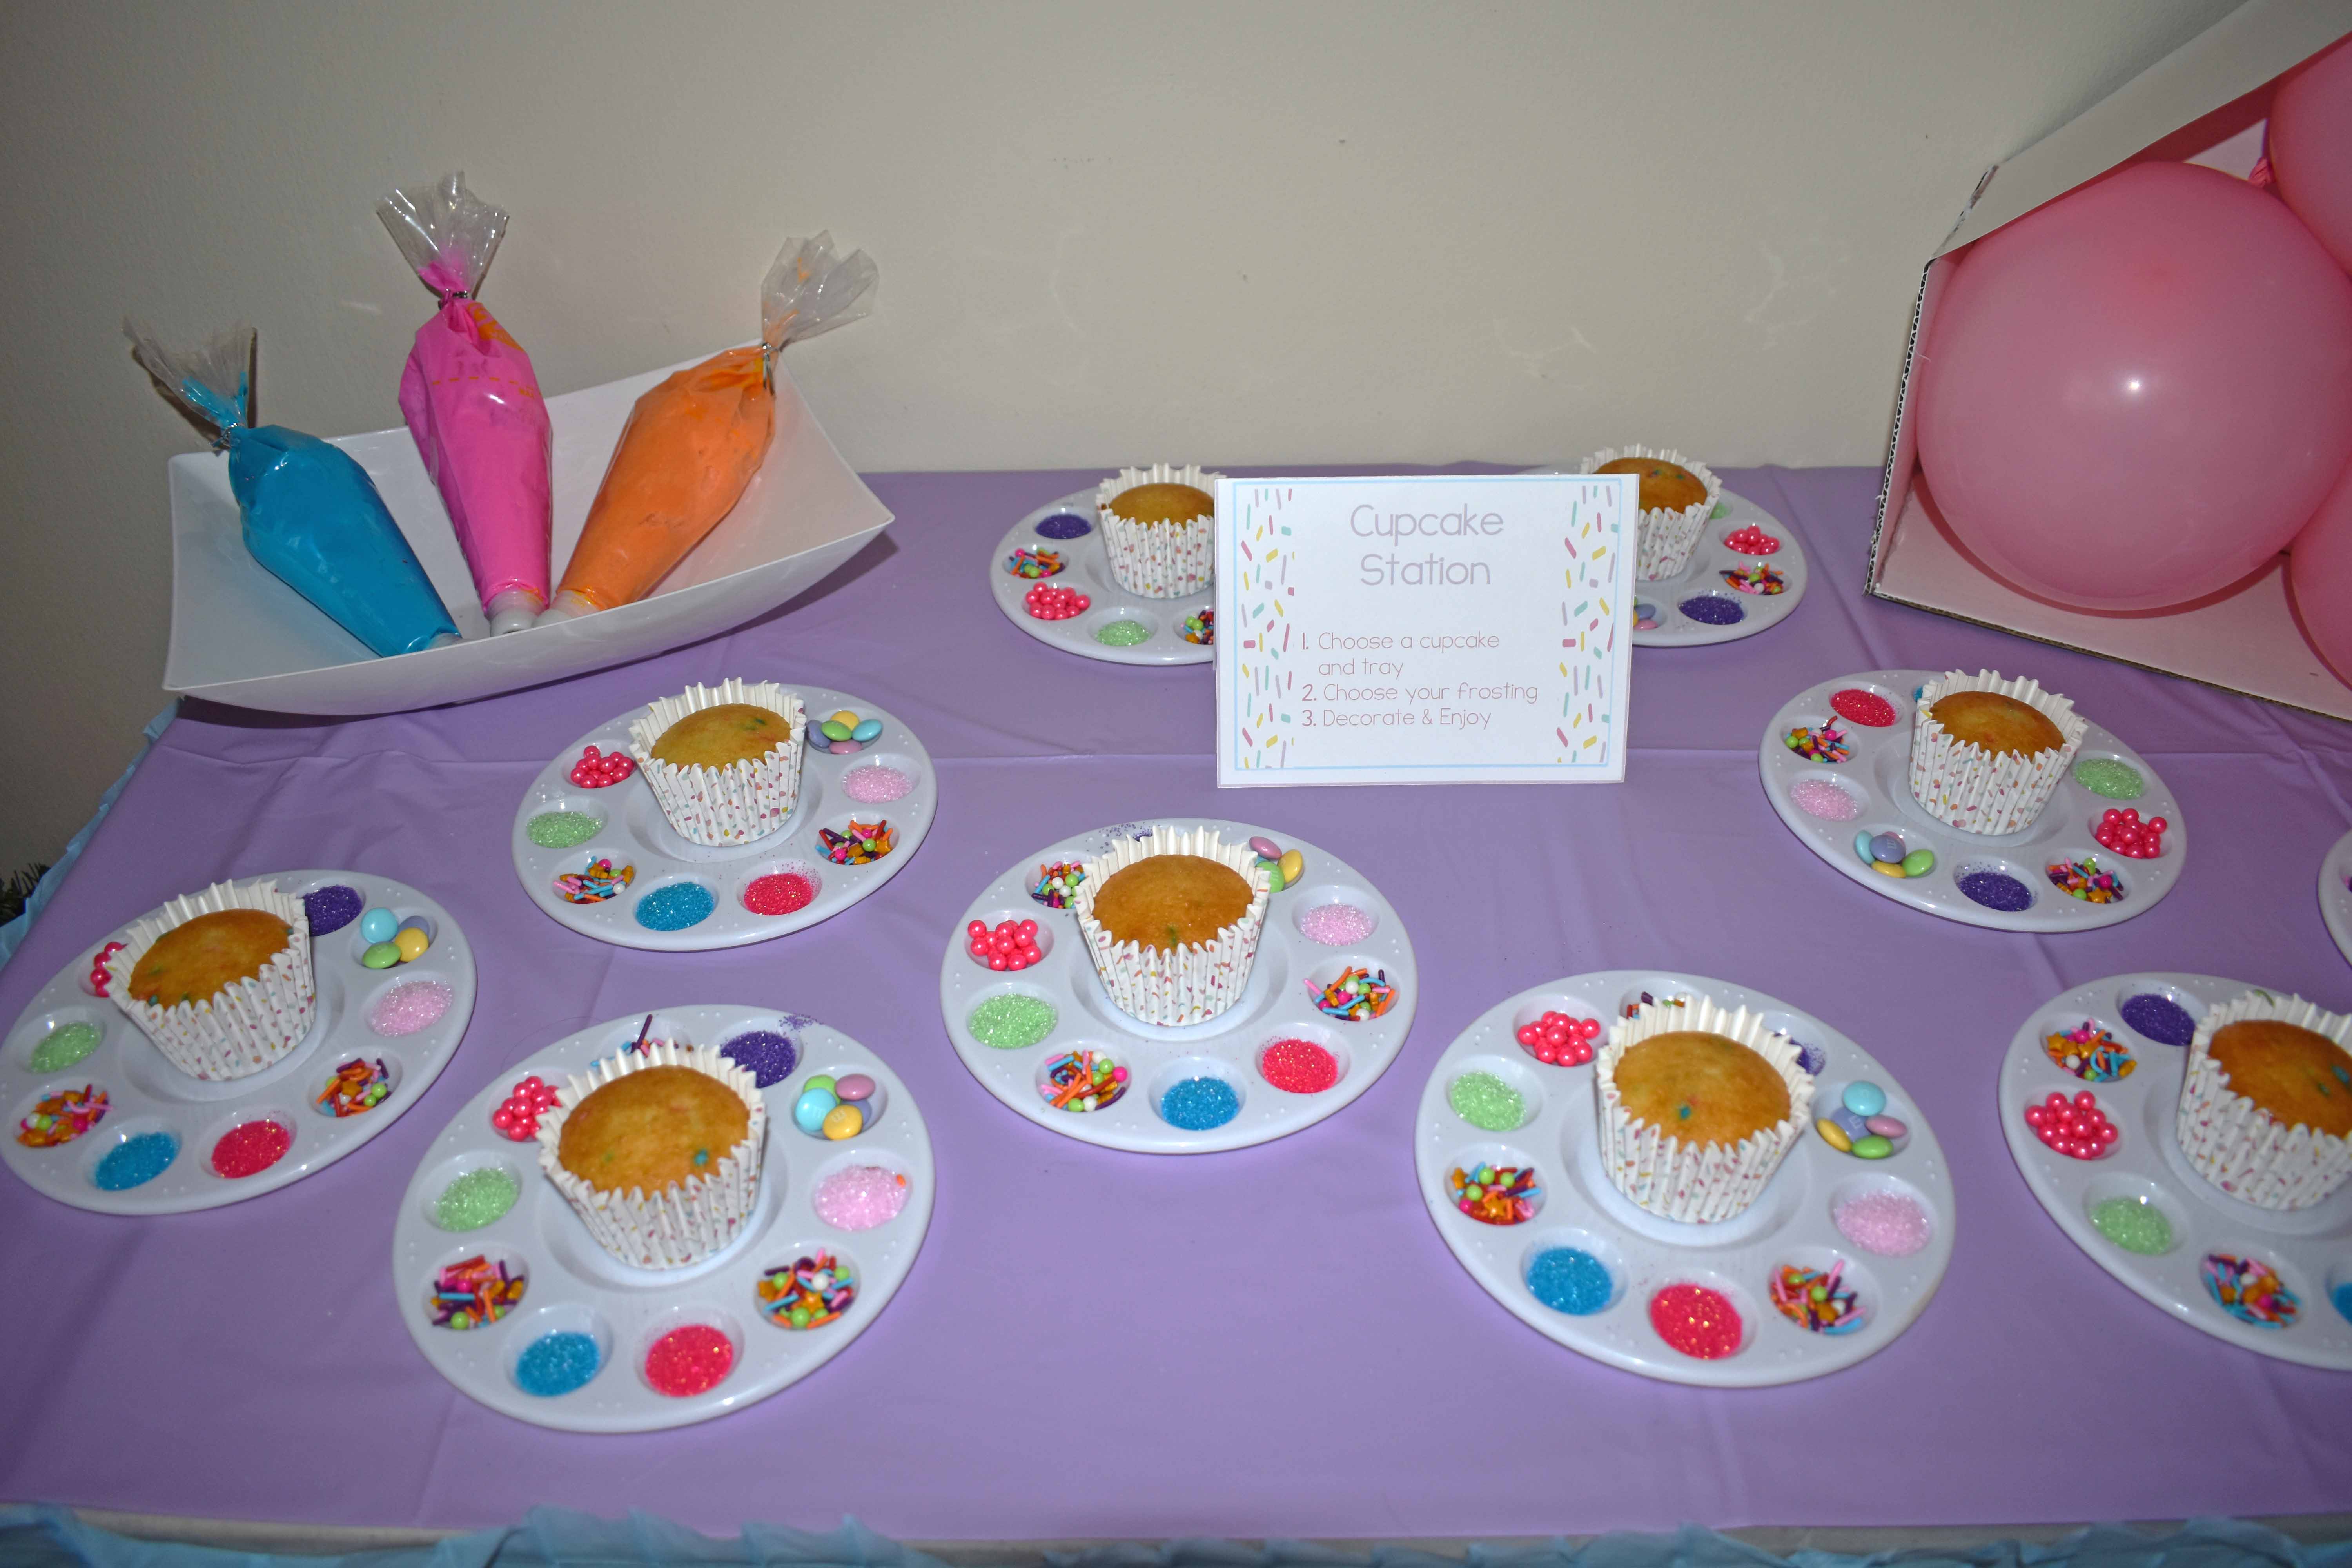
Cupcake Station: I was SUPER proud of this (even though there were no other kids at the party and most of the adults didn’t want to participate 🙄). It was such an easy thing to do and relatively inexpensive. I’ll walk you through what I did.
- Sprinkles: You can find sprinkles at any grocery store and usually if you ask a store that has a bakery, they will put sprinkles into a container for you and sell them to you in bulk. I found some really cute choices at super Walmart too!
- Cupcake Sprinkle Trays: These are paint trays that I found on Amazon. They are food safe and so easy to wash and reuse after the party.
- Cupcake Papers: The specific set that I used was purchased by my Mom, but I’ve seen them at T.J. Maxx and The Christmas Tree Shop.
- Cupcake Station Instructions: I created this myself on word. I used the same template that I had made for her invitations. It was so easy and I just printed them on card-stock.
- Frosting: I prepped the frosting ahead of time (I used the kind that comes in a container). I had the tips already on them ready to use. If you want it even easier you can just buy the ones that have a screw on tip (I didn’t because they didn’t have the colors that I wanted).
- Cupcakes: I used Pillsbury Funfetti Easter cake mix. It had the perfect pastel colors, but you can really use any. I just like the looks of the Funfetti.
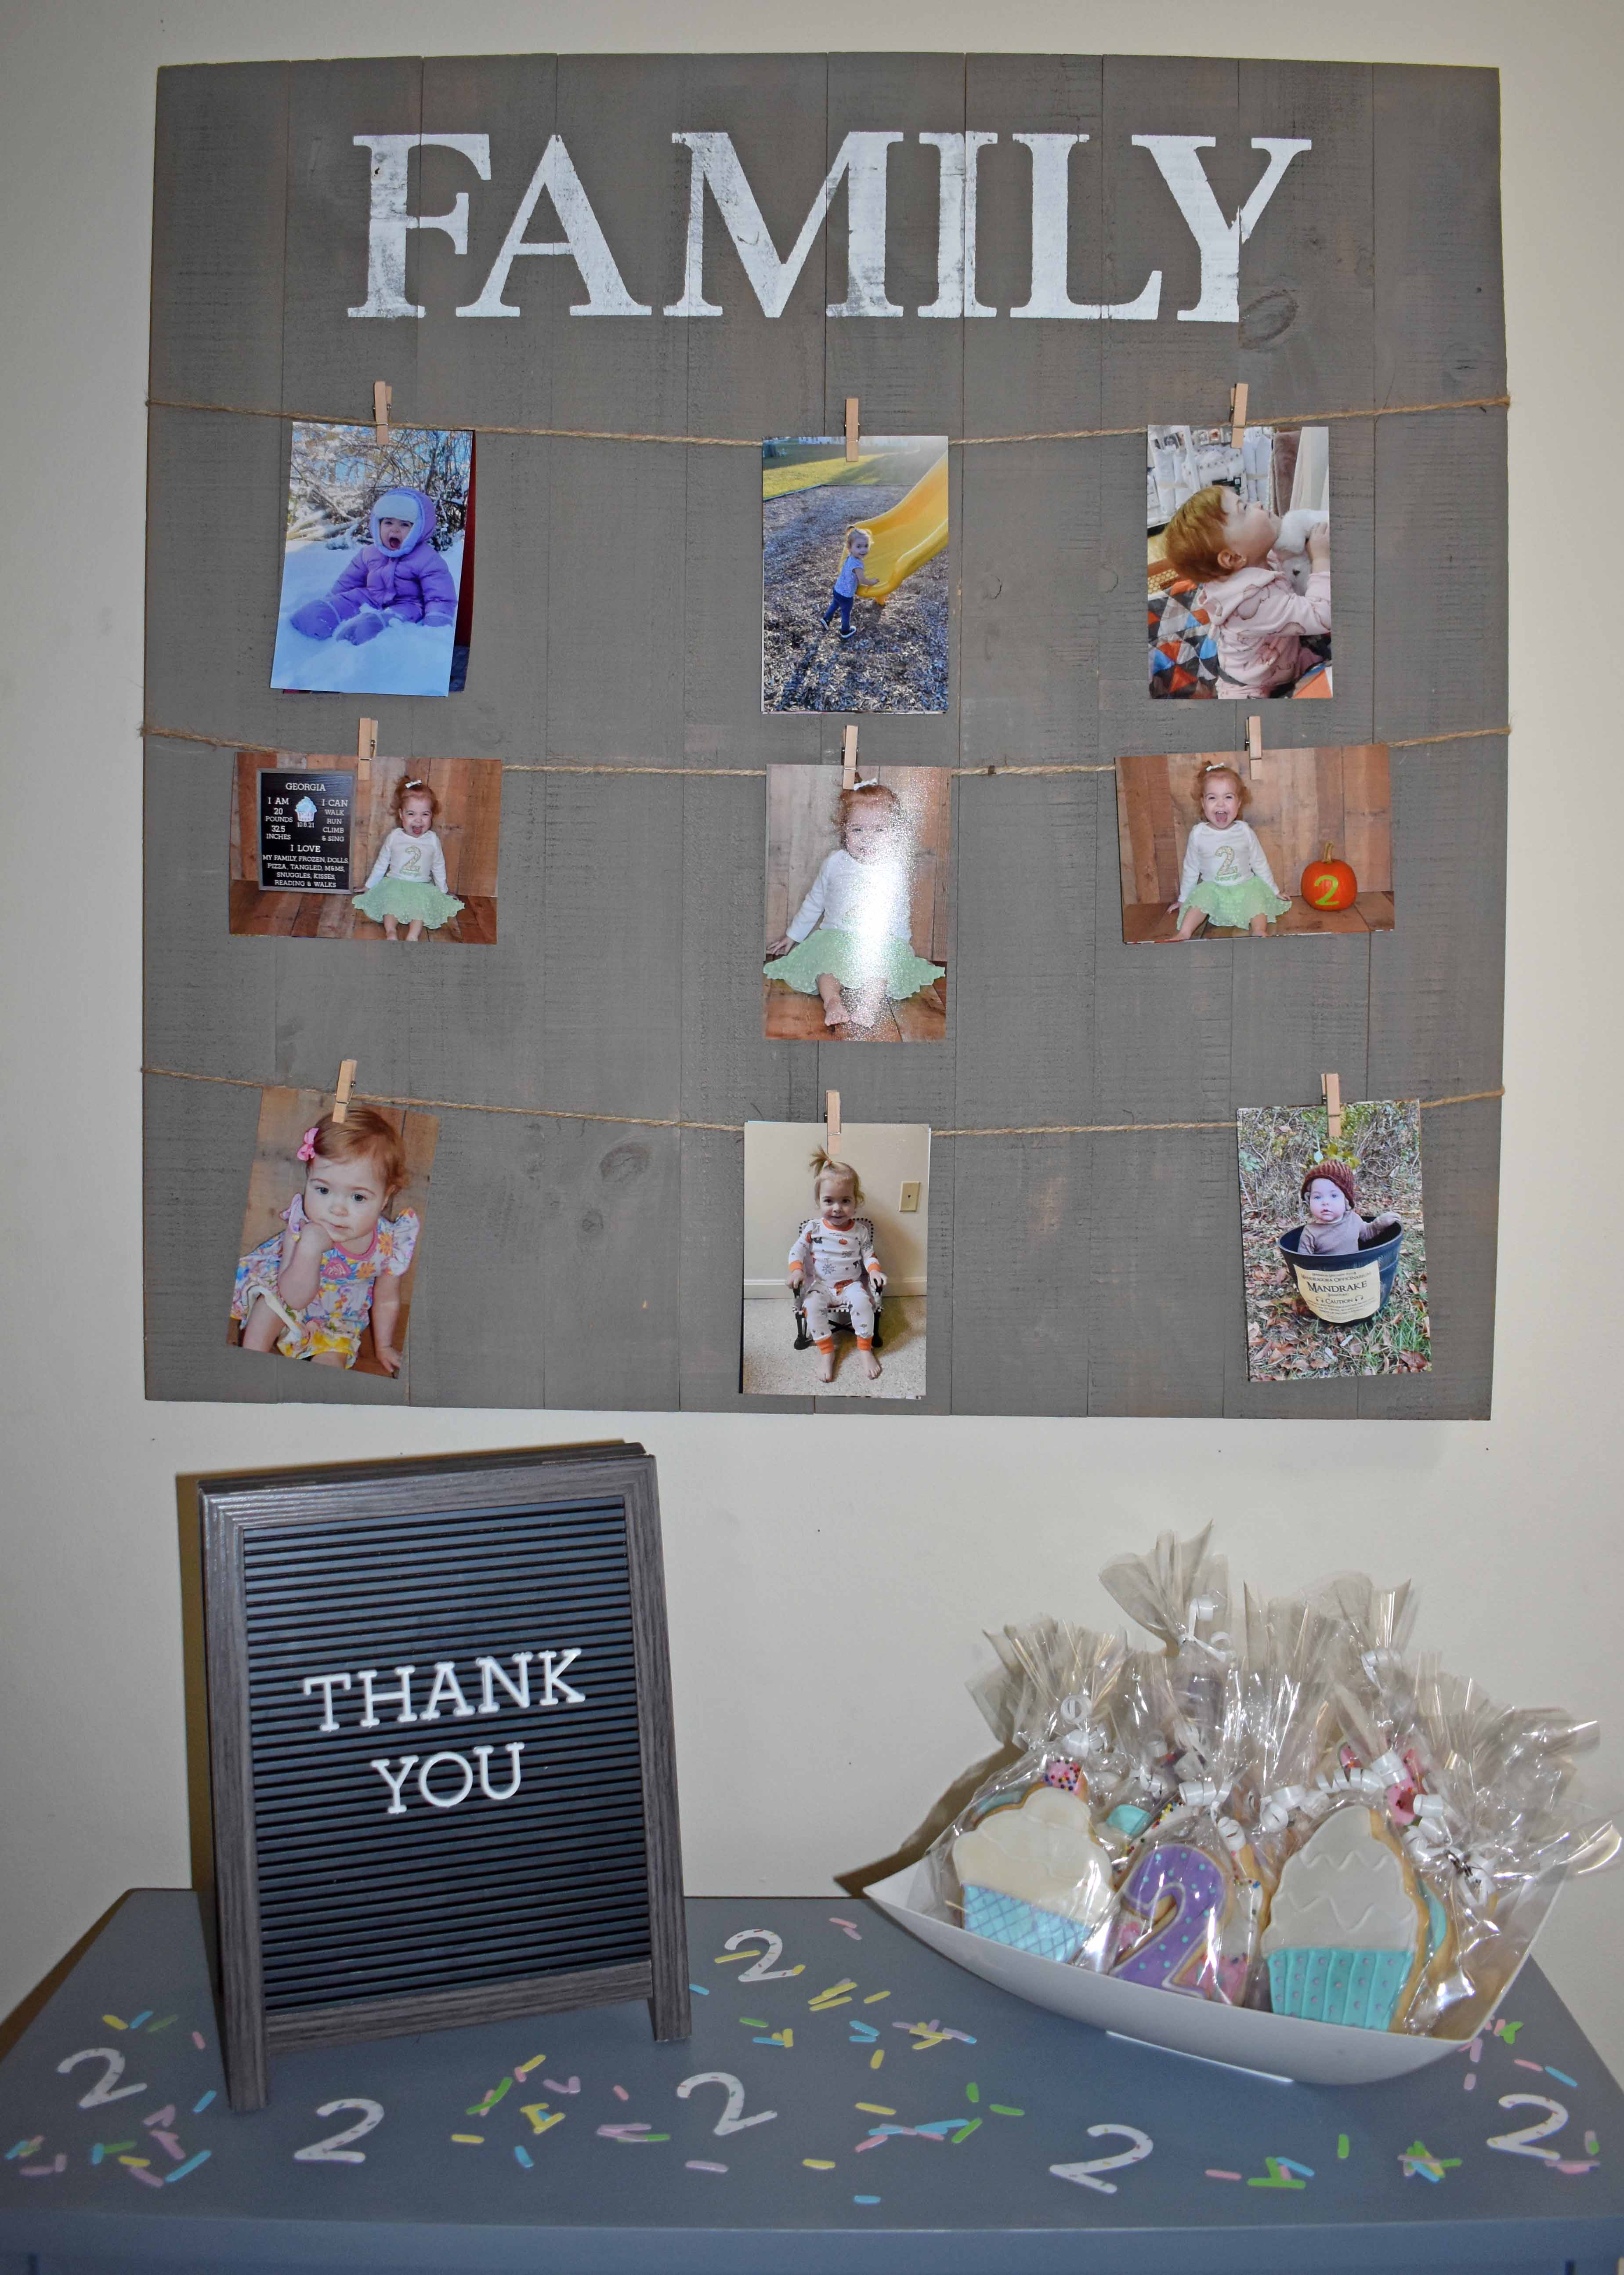
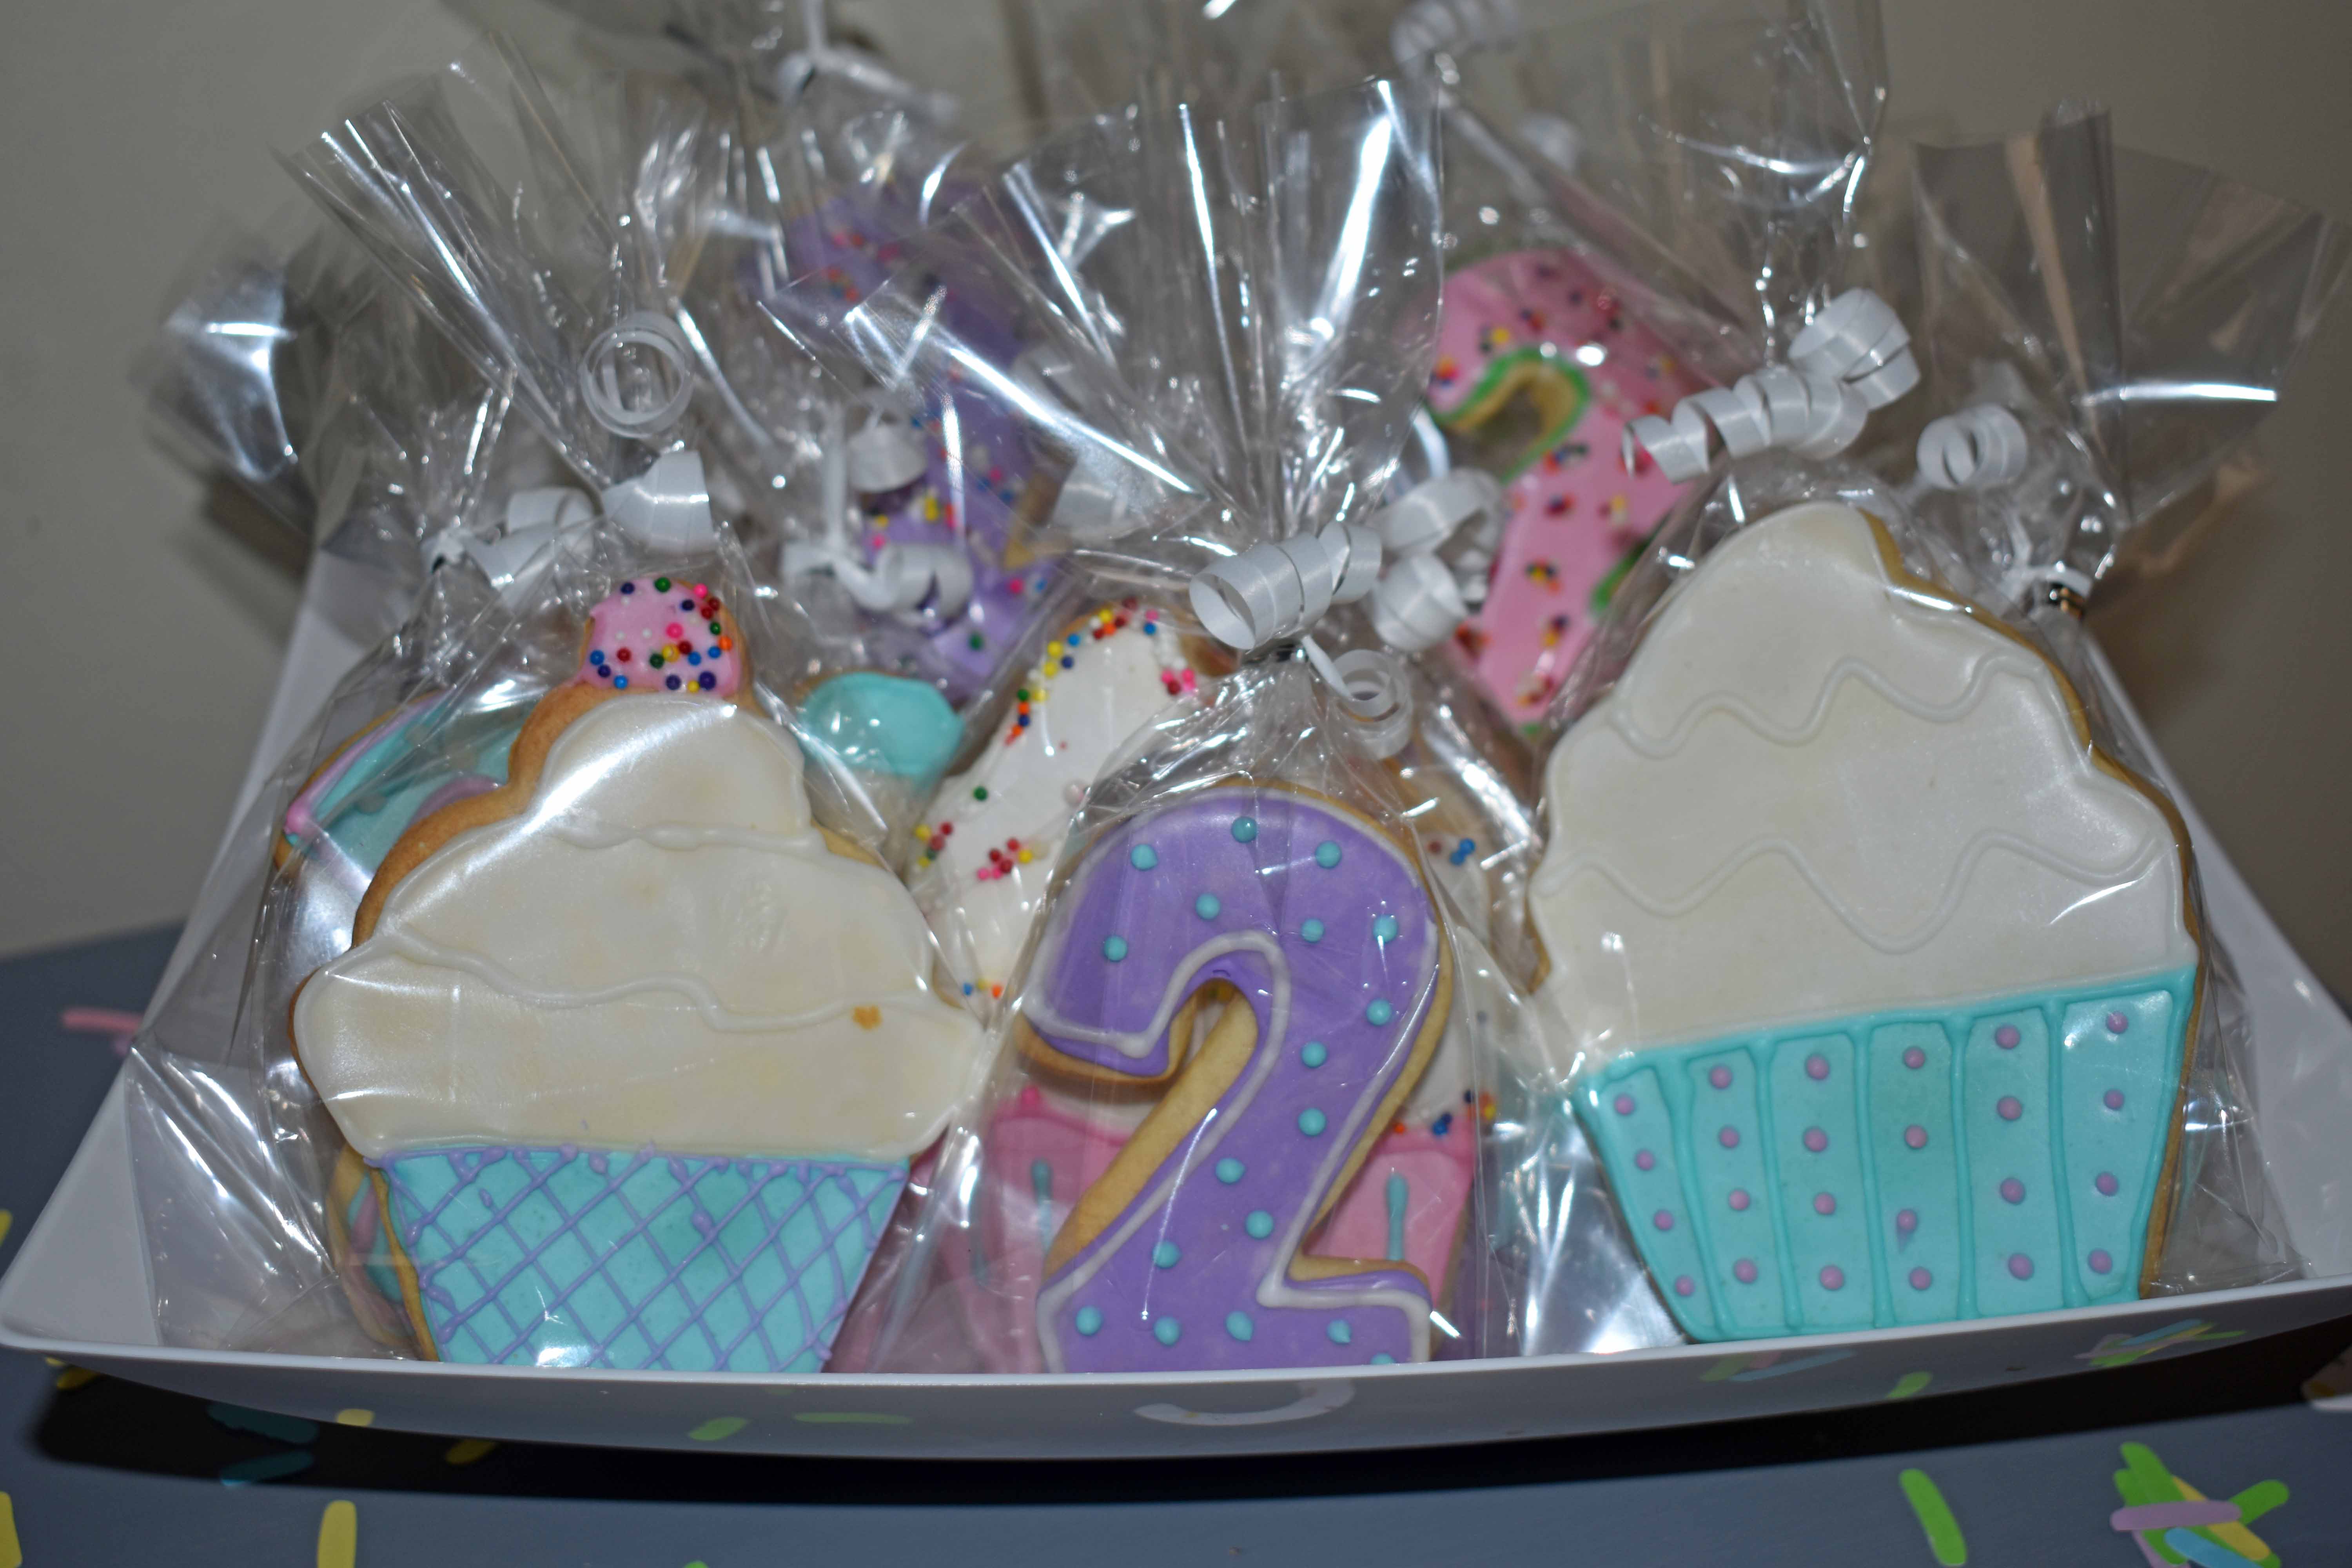
Party Favors: During last years hunt for party favors, I came to the conclusion that no one really wants more junk sent home with them from my kids birthday, so I went with sugar cookies as the favor. I think that is a tradition that I will continue for years to come. It takes a little extra time, but in the long run it’s less wasteful and I think that my friends and family will appreciate the cookies more than a plastic whistle or a sticker. My in laws couldn’t fly up for my toddlers party, so my Mother-in-law made and shipped the party favor cookies to us!
I am already trying to think of ideas for her third birthday and it’s 9 months away. This is where I shine. I may not have any idea what to do when the party guests actually arrive, but I can plan a mean party. I hope that this helps someone who like me, wanted to do a cupcake party.

Leave a comment