If you have a toddler, this is a great way to get them involved in crafts before they are actually old enough to do them (I have wanted to do crafts with my daughter since she was in the womb). This is project in particular was something I saw on a crafting page (yes, I am THAT person). I wish I could give credit where it’s due, but I couldn’t figure out who originally came up with this idea. I documented each step so that you too could do this amazingly fun activity with your little one(s).
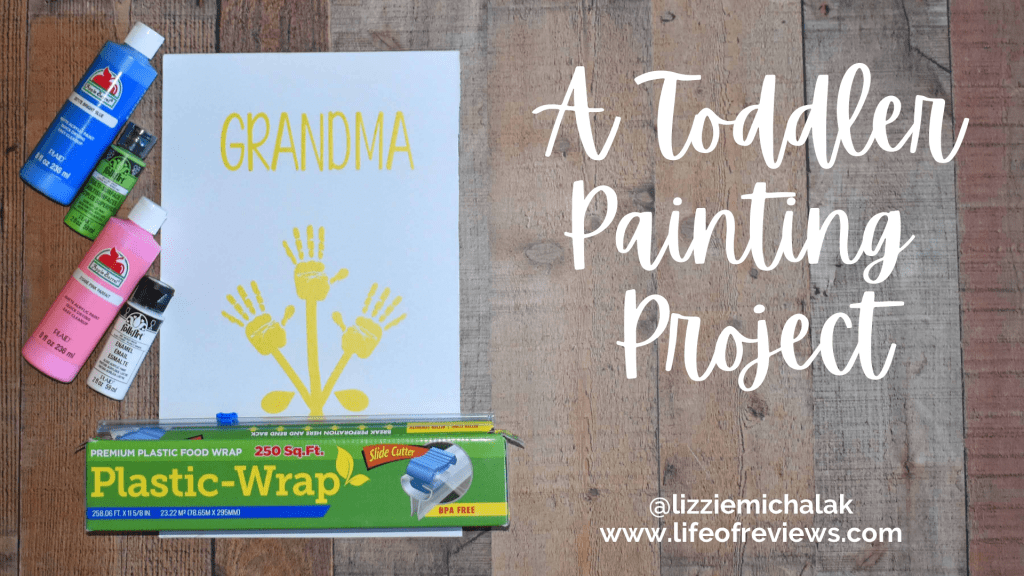
Supplies:
– 1 Canvas (it doesn’t have to be a big one)
– Paint (choose at least 2 colors for optimal fun, and you need the acrylic kind)
– Plastic wrap (the brand doesn’t matter)
– A removable vinyl shape cut out (see example below with directions)
– Optional: Ribbon for the edge of the canvas and hot glue to put it on
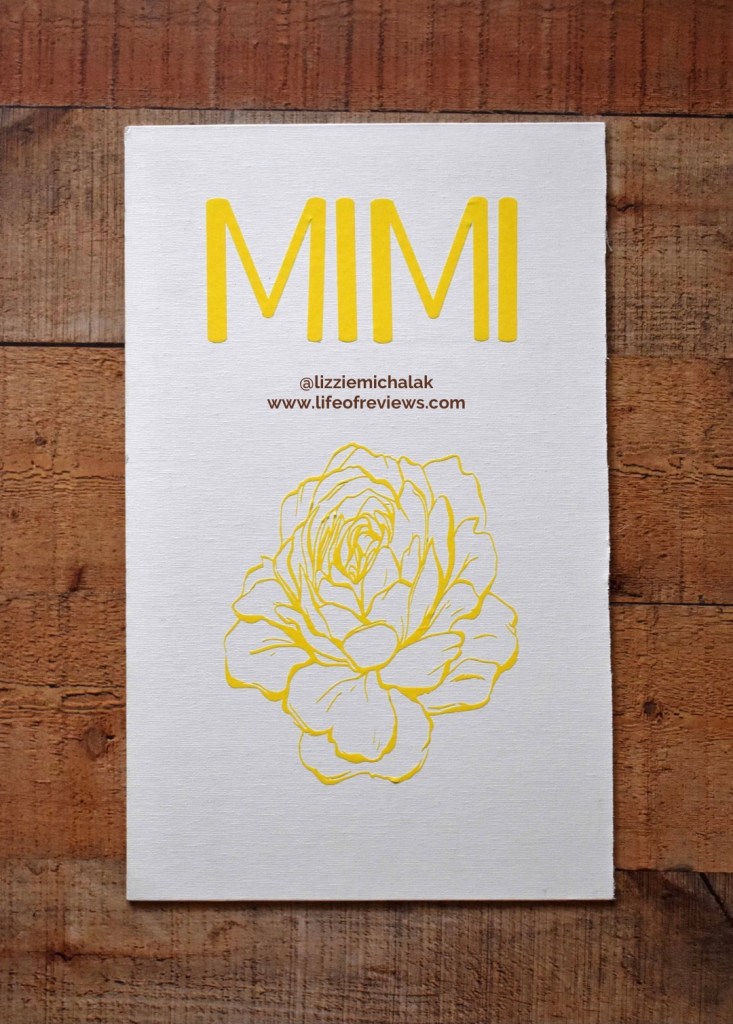
Step 1: Choose an image that you want on the canvas. I knew that this project was going to be a gift, so I chose the name “Mimi” and her favorite flower. I cut the images on my Cricut (a crafting device) and placed them on the canvas. Make sure that each piece is FIRMLY down on the canvas (I did not, and paint seeped under the vinyl). If you do not have a Cricut (or a friend with one) you can order one on Etsy and someone will cut it for you (that option is still under $5).
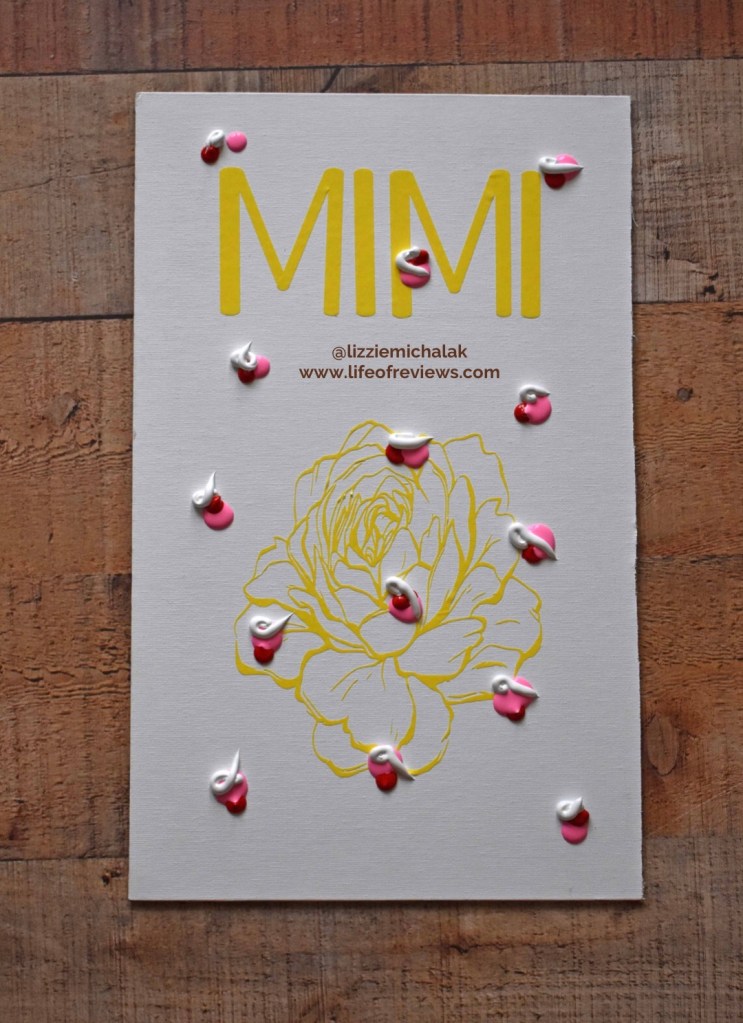
Step 2: Choose your paint colors and drip the paint all over the canvas (even more than what is pictured, I had to go back and add more paint). Do not make the globs too big. Finger tip sized drops should do it. Spread them out, even on top of the vinyl.
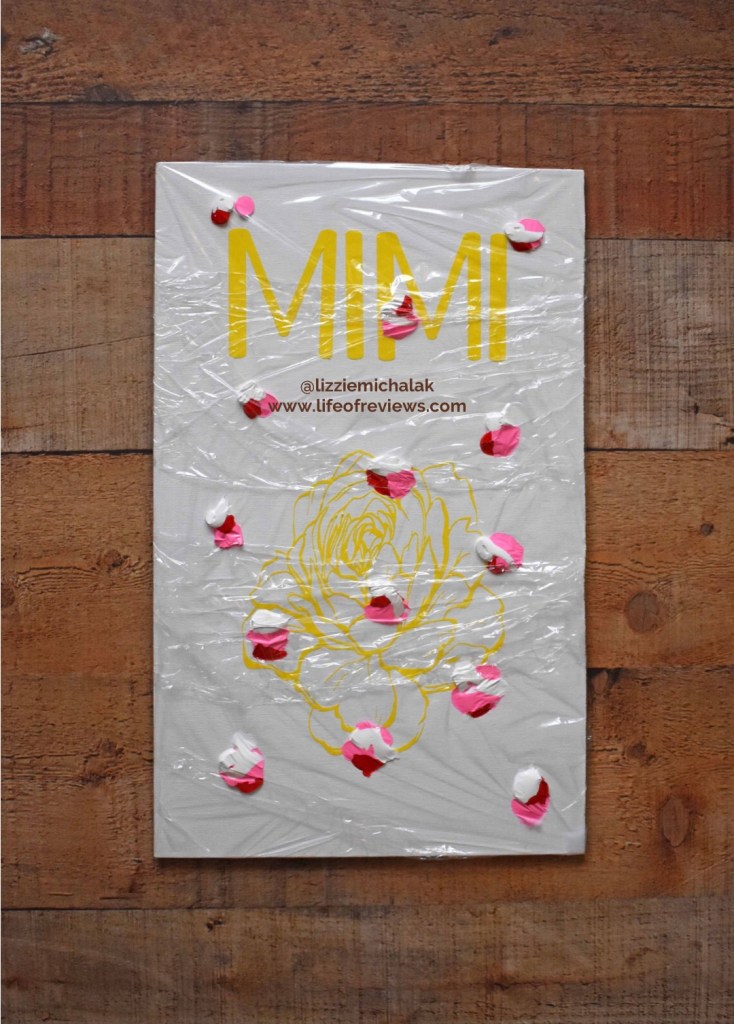
Step 3: Carefully wrap the plastic wrap around the canvas. Add layers. The first time I did this, I only used 2 layers and my toddler used her nails to tear through and get to the paint. I suggest at least 4.
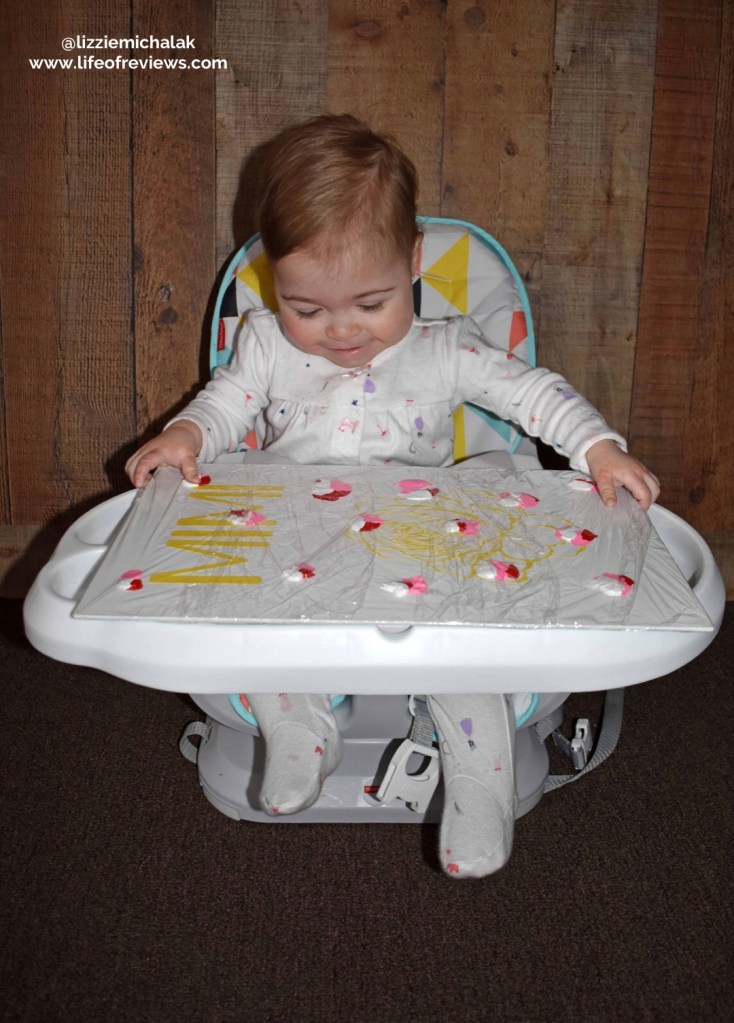
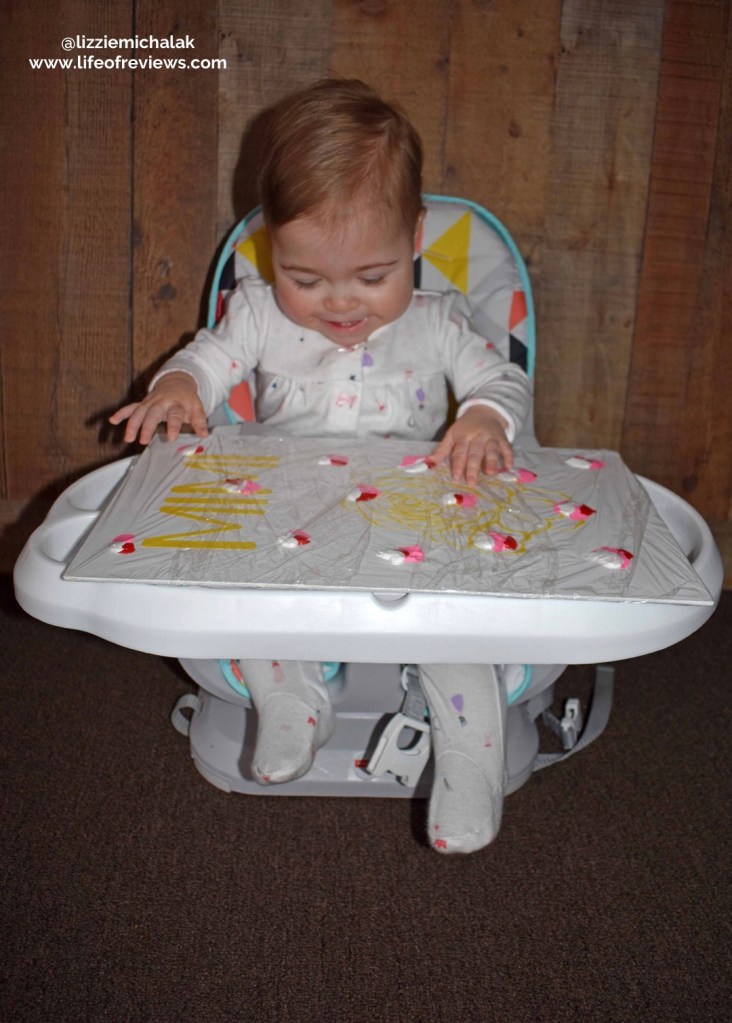
Step 4: Set your toddler up in a place with space to work. I put my toddler in her high chair so that she could focus on the activity at hand. Take pictures and have fun with this part. I loved watching her try to figure out what I was giving to her. When it looks like your toddler is finished, take it away. If you see any spaces that your toddler missed, make sure to smoosh some paint there (unless you truly want it to just be their project).
Step 5: Carefully remove the plastic wrap. I used scissors to cut it off the back and just pealed the front. Let the paint dry. There will be a few hours between this step and the next step.
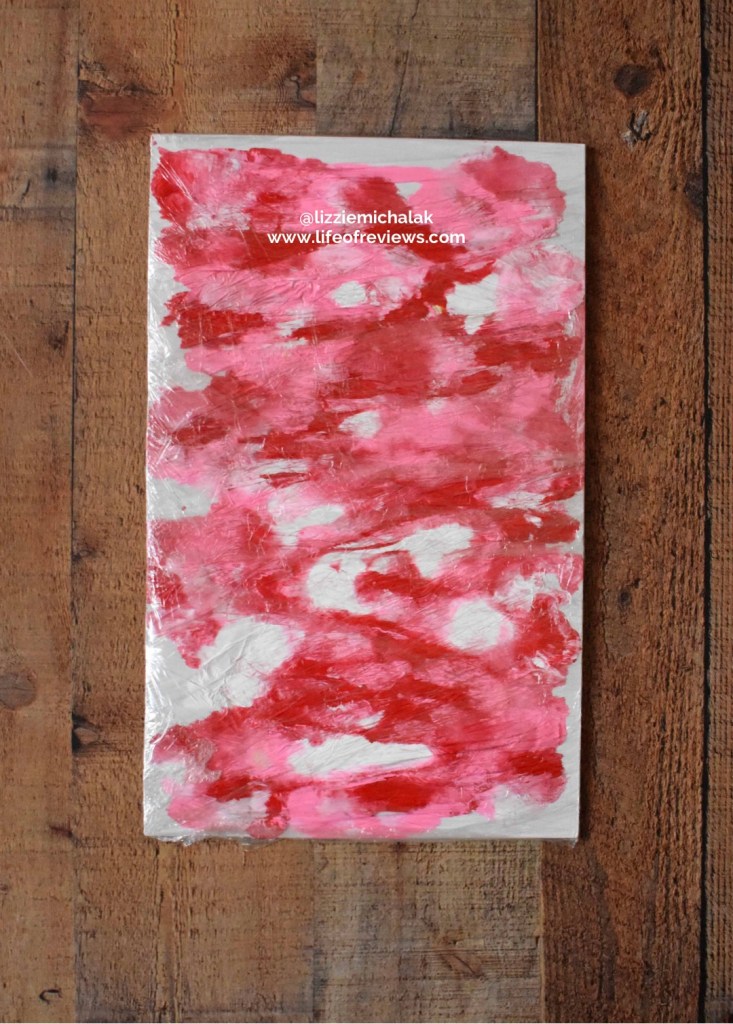
Step 6: Once the paint has dried, carefully peel the vinyl off of the canvas. As you peel it, your image(s) should be revealed underneath, and your project is complete (If you are struggling to get it off, tweezers help!).
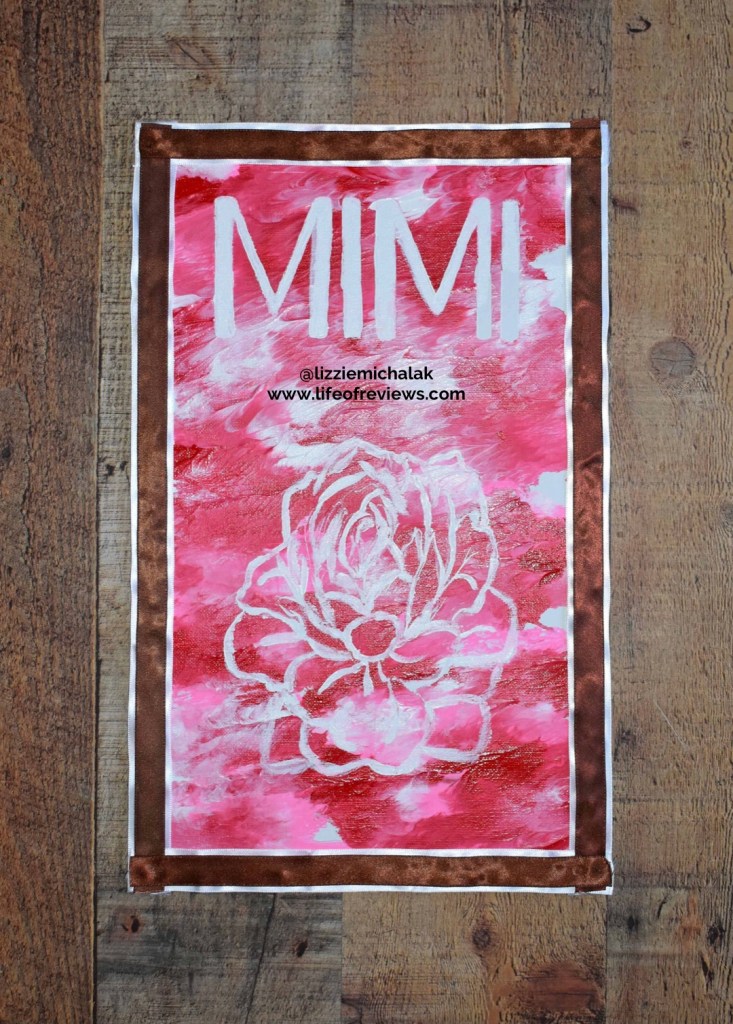
Optional Step: Add ribbon around the edges to make the image pop. This step isn’t necessary, but it’s a cute edition.
____________________________________________________________________
This project was so fun to do with my daughter. I have since made two more of these with her. The one above was a Mother’s Day present for one of her grandmothers. If decide to do this project, be sure to tag me on Instagram (@lizziemichalak) so I can see it too! Good luck!

Leave a comment